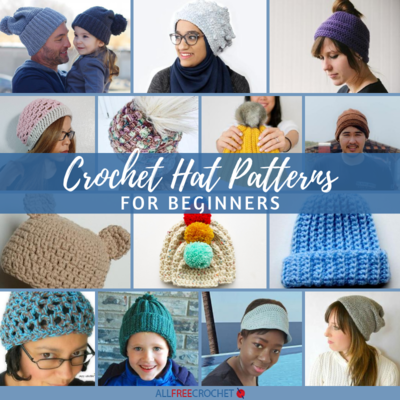
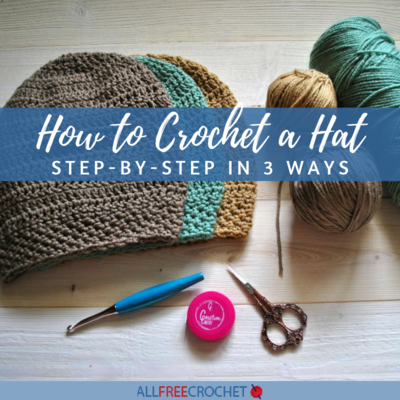
How to Crochet a Hat Step by Step (in 3 Ways)
Learn how to crochet a hat for anyone on your list with this beginner-friendly guide. Plus, a crochet hat measurement chart PDF!

Want to learn how to crochet a hat? We're here to help!
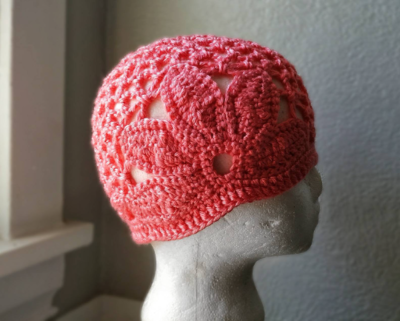
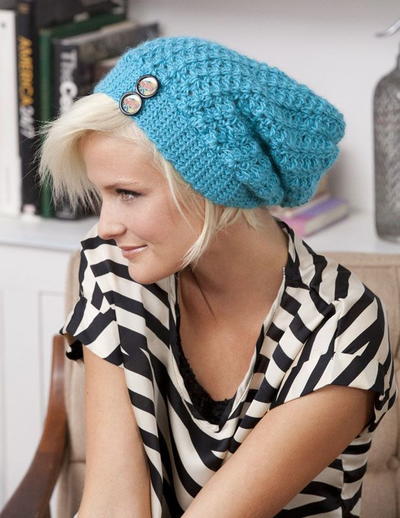
There are 3 different ways to crochet a hat: top-down, bottom-up, and flat. The first two worked in the round, and the other is worked side to side, in rows.
If you’re comfortable with increases, you can learn how to crochet a hat in the round very easily, but otherwise, you can crochet a hat without a magic circle.
Are you still new to crochet? Don’t worry! This guide will show you how to crochet a hat for beginners in no time - start with the bottom-up crochet hat and then, once you’re comfortable with increases, go with the top-down design.
Before you get started on your brand new hat, you’ll first need to get your measurements. For this project, you’ll need to know the head circumference of who will be wearing that hat and have a good idea of how long the hat will be.
Also, since yarn stretches, you’ll need to take that into account after you get your measurements. Be sure to check out our chart on head measurements versus recommended crochet hat measurements, below the breakdown of the three ways, to ensure a proper fit.
Below, we will go over how to crochet a hat step by step for these three different techniques. Along the way, we're sharing additional tips, free hat patterns for each style, and more.
Don't forget to scroll down to the bottom for our free crochet hat size chart. This chart will help you determine the size of hat you need to crochet for your needs.
But First: Helpful Resources
It doesn't matter if you're a beginner or not, these resources are must-reads for anyone who wants to improve their crochet skills or master crocheting hats.
- Types of Yarn + Weights
- Crochet Stitch Directory
- How Tight Should Stitches Be?
- How to Crochet a Magic Circle
- What is Gauge in Crochet?
- Crochet Hat Too Big Help
- Ultimate Collection of Free Hat Patterns
- Ultimate Guide of Tutorials + Patterns
PLUS! In one of the next sections, we're discussing top-down hats and this Easiest Crochet Baby Beanie is one of the best patterns to start with. Especially when you have a written pattern and video tutorial to show you how it's done. Check out the written pattern here and click the play button to watch the video below.
How to Crochet a Hat, Step-by-Step - Three Techniques
Before you get started, there are two measurements you should get - your head circumference and your hat length. Your best bet is to get actual measurements of the person who'll be wearing the hat, but there are approximate standard measurements in a chart, below, that can help!
- Head Circumference: To get the head circumference, use a tape measure (or you can use a piece of yarn and then compare it to a ruler) and wrap it around the head, right at the middle of the forehead.
- Hat Length: Using a tape measure or a length of yarn, hold measure the distance from the top and center of your head down to the side, right to the base of the ear.
How to Crochet a Top-Down Hat:
This first crochet hat technique uses a magic circle to start and then works down from that. To crochet a top-down hat, you should know that there’s a little bit of calculation involved with this method, and you’ll need to be comfortable with crochet increases.
But how much should you increase? Luckily, this is an easy number to figure out thanks to some basic math.
Since we’re trying to figure out the diameter of the ever-expanding circle we’re creating, you just need to take the head circumference you measured and divide by 3.14.
This will get you the diameter of the circle, the length from one side of the circle to the other. As you crochet from the top-down, you’ll keep increasing your circle until you reach that diameter.
- Begin with a magic circle and continue increasing around until your circle measures the diameter you calculated above, from side to side (head circumference divided by 3.14).
- Once your circle is the proper size, stop increasing and work your stitches in the round without adding in any extra stitches. This will allow the sides of the hat to form.
- Take length measurements from the top of the hat, from the middle of your starting circle, to keep track of your progress, and once you’ve reached your desired length, you’re done!
Watch the below video to see how to crochet in the round from the center out if you need some help with this method!
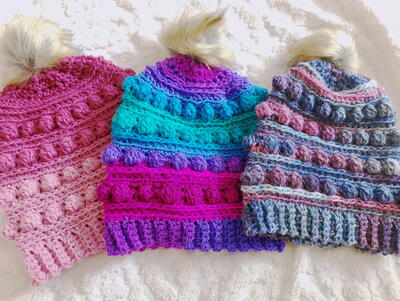
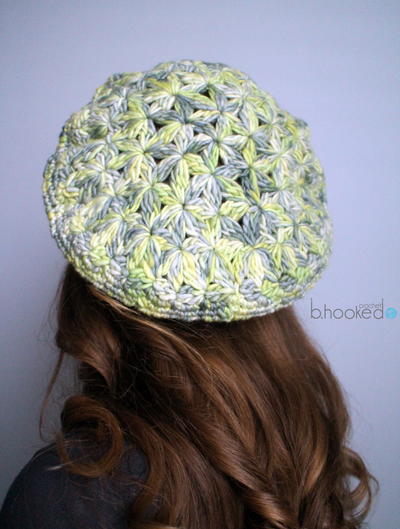
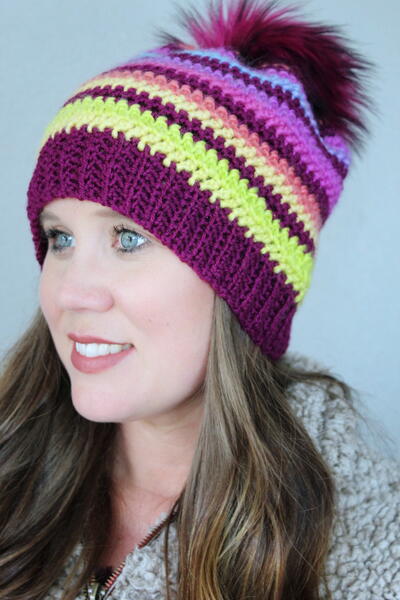
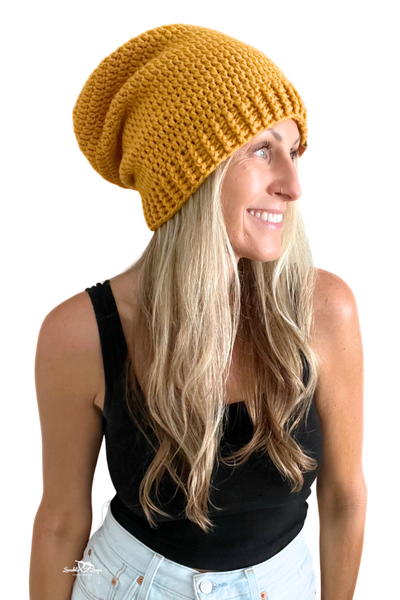
Free Crochet Top-Down Hat Patterns

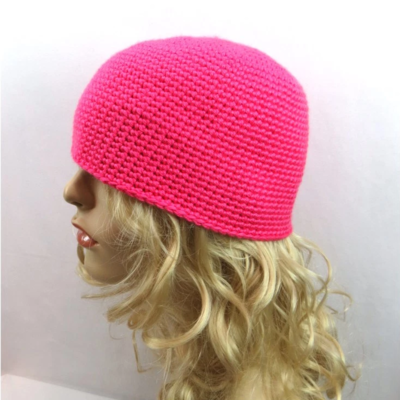
How to Crochet a Bottom-Up Hat (or How to Crochet a Hat without a Magic Circle):
The second hat technique starts from the bottom up to the top. Because of that, no magic circle is needed. A bottom-up crochet hat is a lot easier and requires far less math than the top-down version.
Since we’re starting with the widest part of the hat and then working our way up to the top of the hat, we first need to make sure we get the right starting circumference (so that it fits around your head).
Starting Circumference
- Start by working a chain that’s the same length as your measured circumference. If you’re working a specific stitch pattern that requires specific multiples of stitches or a set number of starting chains, it’s ok to adjust your starting chain a bit - just keep that in mind!
- Once you have your length of chain stitches, slip stitch to join to the first chain to get a large circle.
Now we need to focus on getting the proper length. When working a bottom-up hat, we don’t have to worry about any decreases (which makes this super easy!).
- Continue working in the round without increasing or decreasing and work up a long tube that’s the length of your measured length. Fasten off.
- Then, create a drawstring-style bind-off to close up your tube. This method will cause you to lose a little length, so add in about an inch when working up your tube to compensate.
- To create a drawstring-style bind-off, weave yarn all the way around the top of the circle, through the stitches of your last round. Once you've made your way around, you can cinch your hat closed.
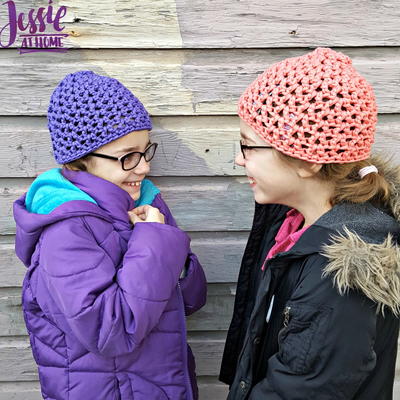
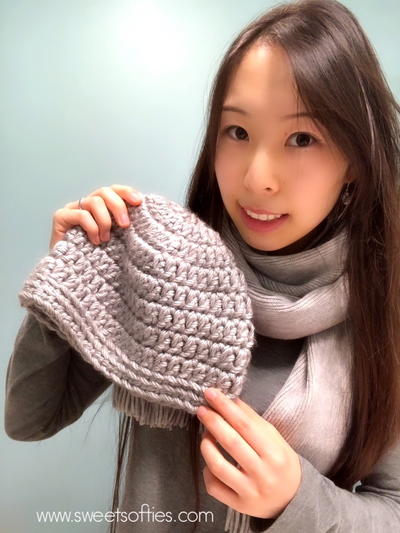
Free Crochet Bottom-Up Hat Patterns

How to Crochet a Flat Hat:
The third hat is a bit different from the other two. A hat worked flat is very similar to a bottom-up hat except that we aren’t joining yarn and are going to be working back and forth in rows, not in the round.
- Start by working a starting chain equal to the circumference you want, just like above.
- Once you have your length of chain stitches, chain one (or the number needed to continue your work in rows, depending on your choice of stitch) and continue working back and forth in rows until you get to your measured length (plus about an inch to allow for the drawstring). Fasten off.
- Last, we'll be seaming our hat. Use your favorite seaming method and join the two sides (not your top and bottom!) - seam all the way down the length of the hat.
- Just like with the bottom-up hat, weave in yarn through the top row to create a little drawstring to cinch your hat.
Free Crochet Flat Hat Patterns

Crochet Hat Size Chart
As mentioned above, you need to take into account the fact that yarn is stretchy. You want to allow your hat to stretch over your head when you put it on to keep it warm, so you’ll want to crochet your hat to slightly smaller lengths and circumferences than you measured.
As a rule of thumb, take off about an inch from your measured head circumference or length when working up your hat, or follow this chart below for crochet hat measures for different ages and styles. This chart is also super handy if your recipient isn’t nearby to get proper measurements.
Please note: If you’re working a bottom-up hat, work up your tube to your regular head length as originally measured. Since you want to work up about an inch less than your measurement to account for stretchy yarn and then add about an inch to the end to compensate for the drawstring closure, those two numbers would essentially cancel out.
| Crochet Hat Size Chart | ||||
|---|---|---|---|---|
| Age | Head Circumference | Recommended Hat Circumference | Recommended Hat Length | Top-Down Hat Crown Diameter |
| Preemie | 11-12" | 10" | 4" | 3.24" |
| Newborn | 13-15" | 12" | 5" | 3.75" |
| 3-6 Months | 15-17" | 14" | 5.5" | 4.5" |
| 6-12 Months | 16-19" | 16" | 6.5" | 5" |
| Toddler (1-3 Years) | 18-20" | 18" | 7" | 5.75" |
| Child (3-10 Years) | 19-21" | 20" | 7.5" | 6.25" |
| Teen/Small Adult/Woman | 21-22" | 21" | 8" | 6.75" |
| Adult/ Man | 23-24" | 23" | 8.5" | 7.25" |
Up Next
30+ Free Messy Bun Hat Patterns >>
What style of hat do you like to crochet most?
Read NextSingle Crochet Beanie for Beginners
Your Recently Viewed Projects
Thanks for your comment. Don't forget to share!
jean 8406252
Oct 23, 2018
Thanks! I'm a newbie and appreciate the clarity of your video. I want to crochet "ponytail hats" for my grands. Do you have a pattern for that?
EditorLP
Oct 25, 2018
Hi jean 84006252, we're glad the video was helpful! Here is a pattern for a quick and easy ponytail/bun hat: https://www.allfreecrochet.com/Hats/Quick-and-Easy-Messy-Bun-Hat-Pattern. - Editors of AllFreeCrochet
Report Inappropriate Comment
Are you sure you would like to report this comment? It will be flagged for our moderators to take action.
Thank you for taking the time to improve the content on our site.