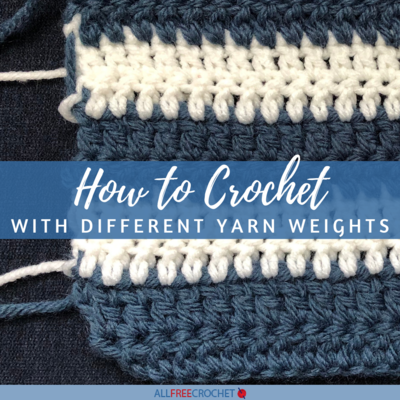
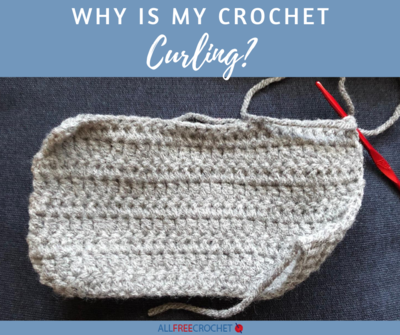
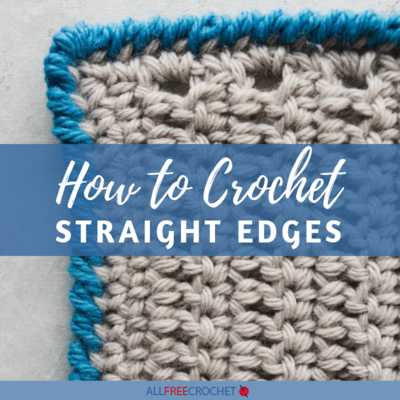
How to Crochet Straight Edges
If you keep asking, "Why does my crochet curl up?" These simple tips will help you learn how to keep edges straight in crochet.
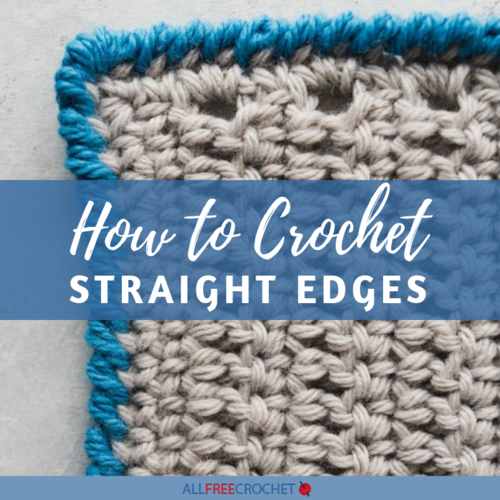
Few things are more frustrating than zeroing in on the rows of your project only to look up and see that the edges look more like a winding river than a straight bridge.
This page, How to Crochet Straight Edges, tackles this issue head-on with some helpful tips and two different methods to choose from when beginning your crochet borders.
Straight crochet edging is no easy technique to master, even for long-time crocheters, so this would be helpful for beginners and pros alike. But if your crochet is not straight or if it's curling, you'll be more frustrated in the end.
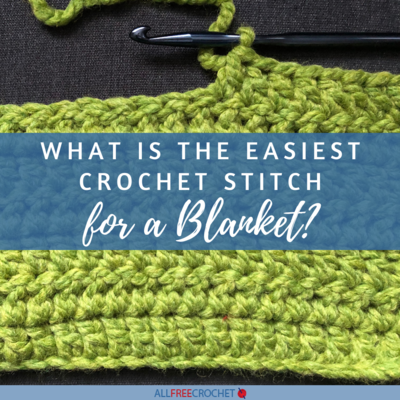
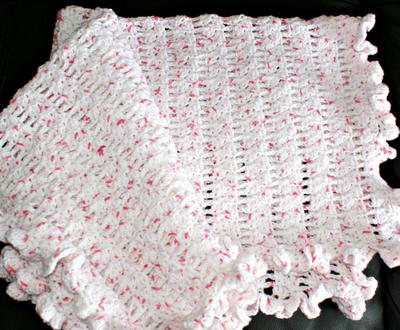
If you are looking for good projects on which to test your new crochet edging skills, dishcloths and easy crochet blankets are the best places to begin.
Simple repetition is a great way to nail down a skill, so pick out projects that will force you to work on edging. Once you have mastered edging, your projects will come out looking much more professional and tidy.
PLUS! Check out this video right below to learn reverse single crochet edging from Kristi Simpson!
How to Keep Crochet Stitches Even:
The two different methods have one main distinction: what you do with the turning chain. While the first counts the turning chain as a stitch, the second does not. The first is most common but can sometimes leave noticeable gaps, so your personal preferences and the specific pattern you are using will determine which you pick.
Method One for Clean Crochet Edges: Turning Chain Counts as a Stitch
With this technique, you begin each row and count the turning chain as a stitch, which will leave a gap, and at the end of each row, you work a stitch into the chain of the row right before it. Don't worry, this is broken down for you below.
One thing to note before beginning: the drawback to this technique is that there are gaps at the beginning of each row, which some crocheters don't mind, or the spaces aren't noticeable enough to bother them. It is up to you to decide what you prefer (and there are no wrong answers).
- Chain a certain number of stitches as indicated by the pattern so that you can turn your work.
- Count the turning chain as a stitch, meaning you leave a space, skipping that stitch. If you don't do this, you will end up with two stitches in one spot later on down the line.
- Stitch like normal down the row, following the pattern, counting your stitches.
- When you get to the end, work the final stitch into the chain from the previous row. Like before, not doing this will throw your stitch count off (only this time, you will lose a stitch rather than gain one).
- Work together two of the chain parts.
Method Two for Clean Crochet Edges: Turning Chain Does Not Count as a Stitch
While the first method can sometimes leave gaps, this one does not. It produces a tighter piece and often works better for more dense patterns. It follows the same basics as the first method, but the first and last stitches of each row hook into a different spot.
- If you don't count your turning chain as a stitch, then you must work your first stitch into the base of the turning chain.
- Stitch like normal down the row, following the pattern, counting your stitches.
- The final stitch does not go into the chain at the end of your row; instead, it goes into the last stitch of the row.
Tips and Tricks to Keep in Mind for Straight Edges in Crochet
Practice does make perfect (or as perfect as possible). This is one of the most difficult crochet skills to learn when starting out, so don't get frustrated.
As you progress, you will get better and better at keeping tension even, counting, and judging how to adjust your pattern to the way you like to crochet edging. Here are a few general pointers to remember:
- Before deciding on a method, check your pattern, which might have a preferred mode of edging.
- Count your stitches. Having the same number in each row is the best way to make sure your finished piece isn't lopsided.
- Keep your tension even. If it changes, so will your stitching, and this could be the reason your edges aren't turning out straight.
- It is generally best to start your edging with single stitches, especially if you are a beginner. Single stitches are the most basic and will provide a good platform to build your edging, even if you want a more complicated stitch after that first row.
- Don't mix the two methods for straight edging.
How to Crochet a Turning Chain
For visual help with mastering straight crochet edging and the turning chain specifically, check out this Turning Chains Video Tutorial from our friend Tamara at Moogly with detailed crochet instructions.
What are some of your best crochet tips?
Read NextCrochet Blanket Sizes Chart
Your Recently Viewed Projects
Thanks for your comment. Don't forget to share!
Cheryl E
Jun 30, 2017
Keeping my crocheted edges straight has always been a problem. I know practice makes perfect, and I keep trying, however a nice straight edge always seems to elude my crocheting, particularly for any long lengths. I believe I like method two best where the turning chain does not count as a stitch.
clc 6520425
Jun 14, 2016
Great tips for producing a professional looking product. #BestIdeaEver
Report Inappropriate Comment
Are you sure you would like to report this comment? It will be flagged for our moderators to take action.
Thank you for taking the time to improve the content on our site.