How to Crochet the Camel Stitch
This camel stitch crochet tutorial includes step-by-step instructions and photos!
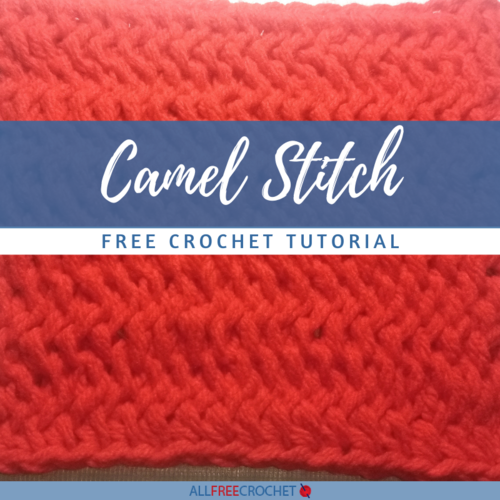
The crochet camel stitch is a well-known stitch used for different types of crochet designs. It simultaneously produces a distinct braid-like appearance on one side, and knitted patterns on the other side. This further adds to its beauty.
As a crocheter, learning how to crochet the camel stitch will broaden your skillset, enhance your crochet work, and allow you to create even more beautiful and eye-catching crochet designs.
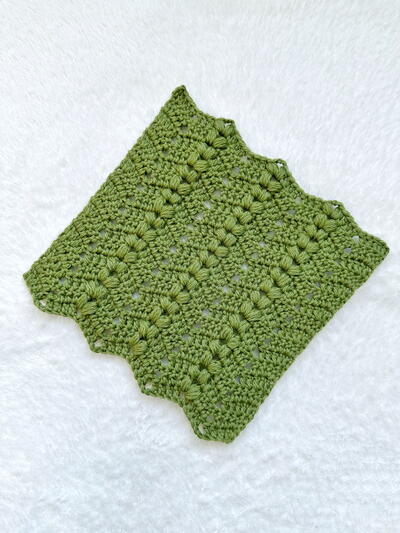
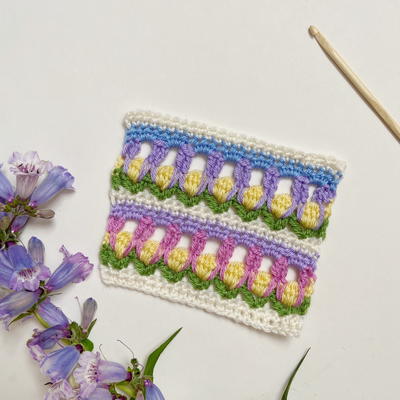
Using the camel stitch you can easily create products like hats, bags, shoes, bands, garments, and blankets, whether for your personal use or to sell on marketplaces like Etsy.
Here's all you need to know about how to crochet the camel stitch.

MATERIALS:

- Yarn cutter
- Crochet hook 5.0mm
- Measuring tape
- Worsted weight yarn(4/medium)
YARN COLOR
1 piece of red yarn
ABBREVIATIONS
- YO :yarn over
- PT :pull through
- SK :slip knot
- CH :chain
- HDC :Half double crochet
- TDC :Total double crochet
- FCH :foundation chain
DESCRIPTION
FCH 20
HDC 20
Rows 12
TDC 20×12=240
STITCH TYPE
(Half double crochet stitch) abbreviated as HDC.
STEP 1


Make a SK, and make the desired number of foundation CH. To create this CH, you will need to YO and PT.
STEP 2
I will be using HDC stitches to create the camel stitch proper. To create HDC stitches, you'll need to YO and PT.
Next, HDC across the foundation CH, CH 2, then turn the piece over.
STEP 3
At this stage, the wrong side should be facing you.
In this tutorial, we are not crocheting on the two top loops, a.k.a the front and back loops (that enable us to create the camel stitch). Instead, we will be working directly underneath them.


HDC underneath the two top loops of each of the HDC stitches to the end of the row, then CH 2.

The next procedure is a little technical, because you still have to crochet underneath the two top loops, and you have to look closely to be able to achieve the camel stitch.
With the wrong side facing you, start from the CH 2 and continue to HDC underneath the two top loops of each stitch till you get to the end of the row.
STEP 4
Repeat Step 3 as many times as you want to your satisfaction.

Try out your new skill! Discover these great FREE camel stitch crochet patterns.

Read NextHow to Add Beads to Crochet (2 Ways)