How To Whip Stitch Crochet
Learn how to join granny squares with the whip stitch crochet method.

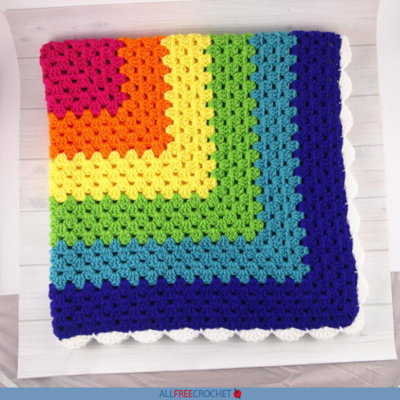
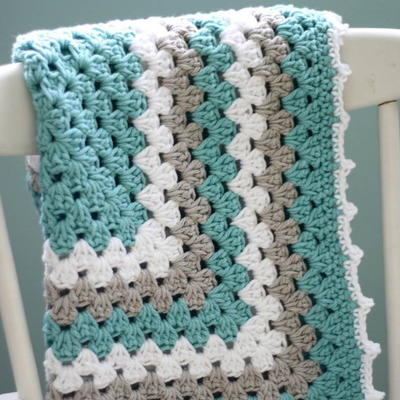
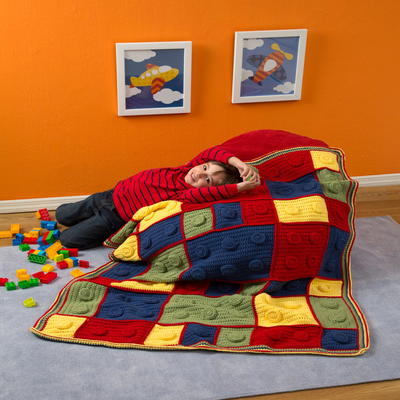
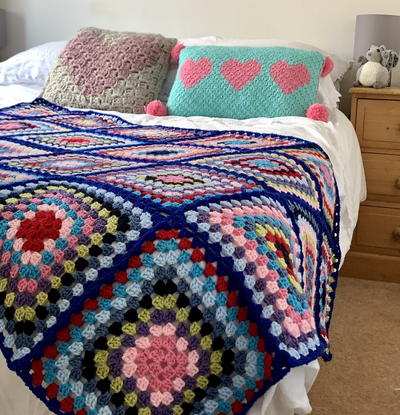
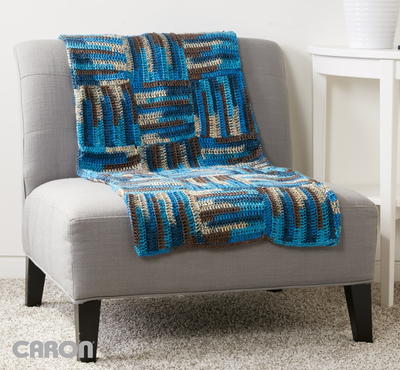
So you've made a pile of crochet granny squares. With some planning and the right tools, you can transform that pile of squares into a warm blanket for a baby, a cozy shawl, or other fashionable items. If you're short on time and simply want to finish the project so you can move on to other tasks, then joining granny squares with the whip stitch is what you need to do.
This tutorial will show you How To Whip Stitch Crochet. We at AllFreeCrochet feel the whip stitch is a no-fuss way to join your granny squares or other crochet pieces, allowing you to spend more time on other aspects of the project.
This style of stitching is also ideal for those who are fairly new to crochet and do not want to learn a more complicated method. With a little bit of preparation and some patience, you can create a beautiful item that also shows off your crochet skills with the crochet whip stitch method of joining crochet granny squares.
Watch the video tutorial below or follow along with the written instructions farther down the page. You will see that using the whip stitch to join yarn is one of the fastest and easiest ways to combine your granny squares or other crochet pieces.
Materials List
- Completed granny squares
- Yarn needle: You’ll want to look for a needle with an eye that is large enough for the yarn you wish to use. Any craft supply store should have this type of needle.
- Yarn: According to blogger Rhondda from the website Oombawka Design, you need to consider the length of your yarn. Rhondda suggests using yarn that is “approximately three times as long as the edge you wish to seam (join together).” You don’t want to run out of yarn before you complete your stitches! Make sure to take into account the number of seams you'll be joining across all granny squares and plan your yarn accordingly.
How to Attach Your Granny Squares With Whip Stitches
Make a Plan Before You Whip Stitch Crochet
Do Some Prep Work Before Joining Your Granny Squares
Before you dive right in, you need to have a plan in place before learning how to whip stitch crochet granny squares. Having the right tools in place before you start joining your crochet granny squares can make the process much smoother, but so will having a rough idea of how your squares will look once laid out.
Don’t grab your sewing materials just yet, as you still have a little bit of work to do. Let’s say you want to make a blanket out of that stack of completed granny squares in an assortment of colors. Now what?
Before you start joining granny squares, you’ll want to make a plan regarding how you want the finished project to look. Lay out your granny squares on a bed or table, then move the squares around to achieve the desired pattern.
You can quickly sketch your design or take a photo with your phone so that you can remember the layout of the crochet granny squares. There's nothing worse than ending up with a lopsided blanket because you lost track of which square you were adding, or realizing far too late that a square you joined 8 squares ago was meant for a border square.
Crochet Whip Stitch Tutorial
Note: Click on any image to enlarge.
-
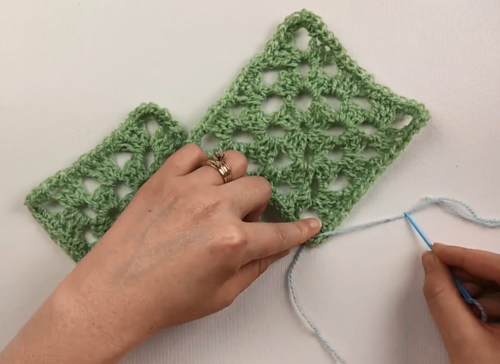
Thread your yarn through the eye of the yarn needle. Remember to leave enough of a tail to thread through your crochet granny squares when finished.
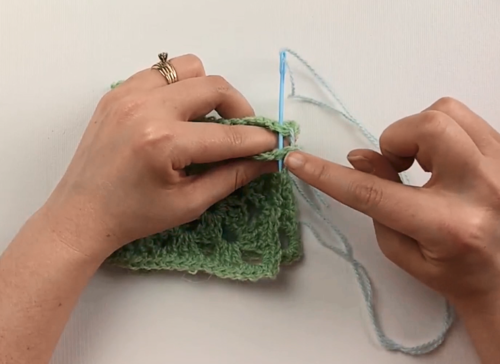
With your granny squares next to each other, find the center stitch of your corner stitches of one granny square (granny square #1), and insert your needle from the back side (wrong side) to the right side. -
Place the wrong sides together so that both right sides are facing out. Insert your needle into the middle stitch of your corner stitches on the other granny square (granny square #2), going from the wrong side to the right side to connect the two.
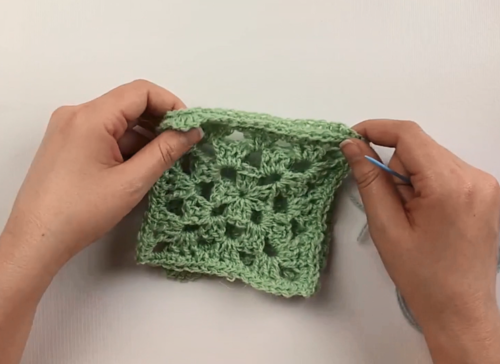
Be sure to take the time to make sure the granny squares are aligned with each other. If a square is askew, you won’t be able to join it with the other granny square. -
Then, take your needle and go in the next stitch from the outside in. Go under both loops on granny square #1, across and under both loops on granny square #2 through to the outside.
Make sure to match the stitch on the opposite granny square as you work from the outside to the inside.
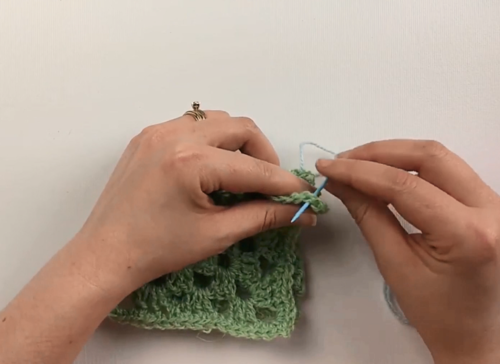
Note: You can go under only the first loop of your granny squares but going under two loops makes for a more secure connection. -
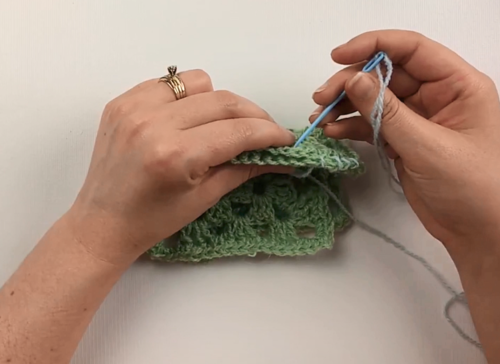
Continue that way down the sides of your granny squares. When you get to the edge of the granny squares, you can crochet or loop the tail of your yarn through the squares to secure the yarn.
How do you join your granny squares?
Let us know in the comment section below!
Read NextNo-Brainer Granny Square Blanket
Your Recently Viewed Projects
Thanks for your comment. Don't forget to share!
Report Inappropriate Comment
Are you sure you would like to report this comment? It will be flagged for our moderators to take action.
Thank you for taking the time to improve the content on our site.