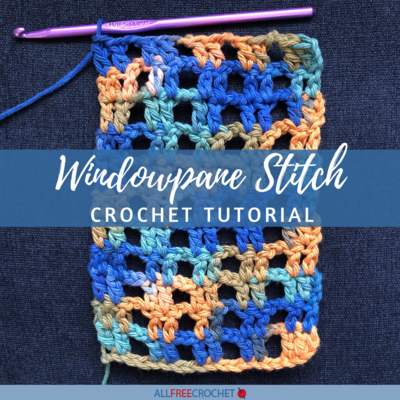
Windowpane Crochet Stitch Tutorial
A windowpane crochet pattern has a unique and beautiful look. Learn how to crochet this stitch with our full tutorial!

It’s always fun to learn a new crochet pattern. In this article, we are going to go over two different versions of the windowpane crochet stitch.
One is a simple pattern that doesn’t require much counting and the second one is a bit more intricate and requires following specific rows to create the pattern. Either one results in one of the most unique crochet stitches you've ever seen and a finished piece you'll treasure.
Either one though is great for a beginner, intermediate or experienced crocheter to have fun with. Both of these patterns are what I like to call intuitive patterns.
Meaning, once you get the hang of the pattern and the stitch counts you won’t have to look at the pattern to know what stitch or row to work next. Below, find both written crochet tutorials with step-by-step images to help you master this stitch.
Sign Up For More Free Patterns >>>
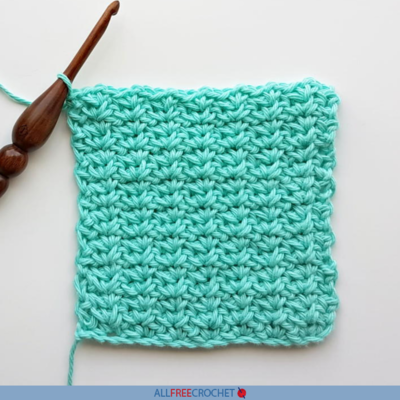
Simple Windowpane Crochet Stitch
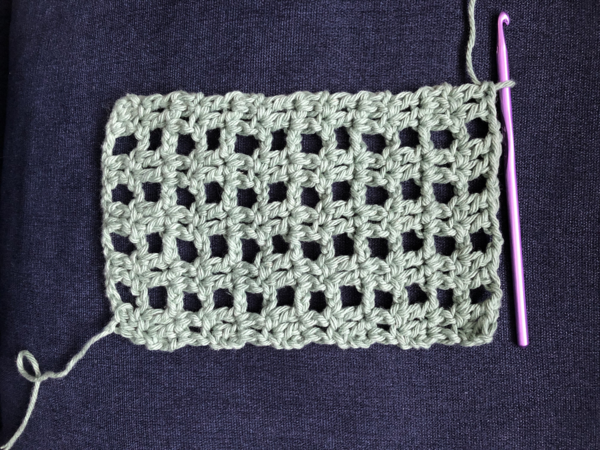
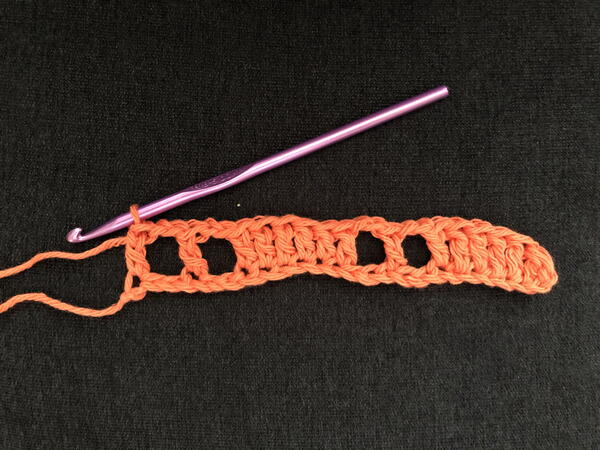
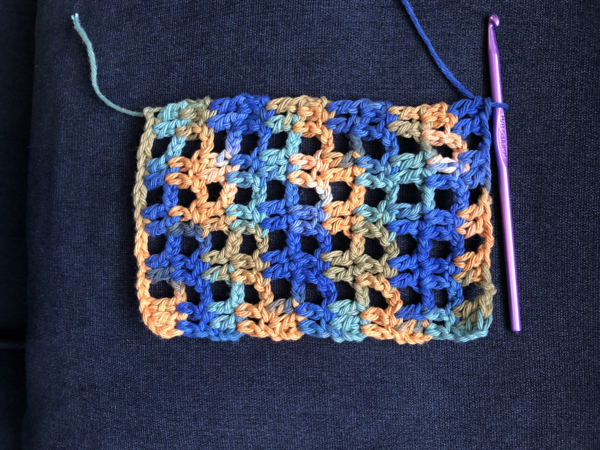
Let’s start with the simpler windowpane crochet pattern. This stitch pattern will create an open square pattern. Basically, a bunch of windowpanes stitched together.
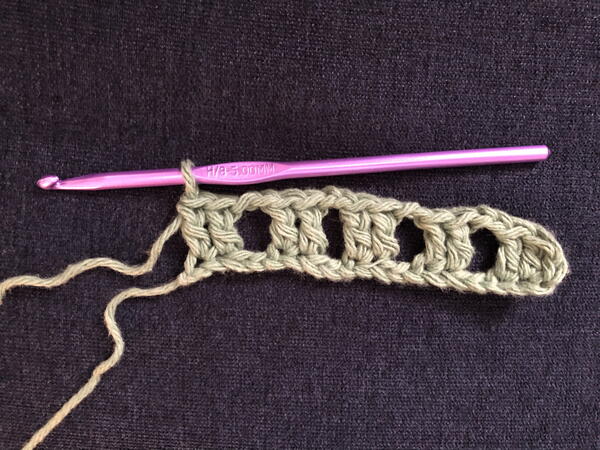
Chain a multiple of 4
- DC in the 3rd chain from the hook. DC in the next chain. *Ch2, Sk2, DC in next 2 chains. Repeat from * to end of the row.
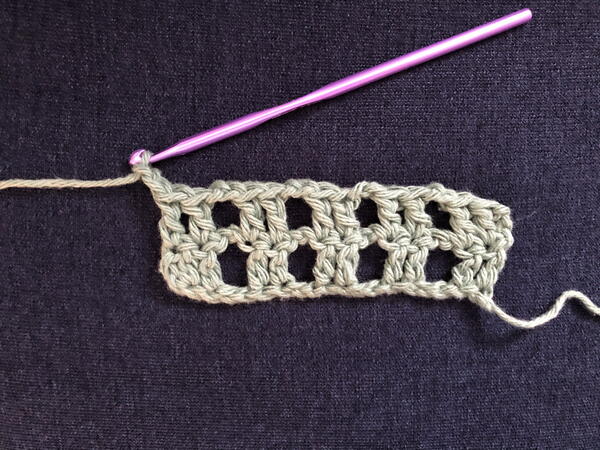
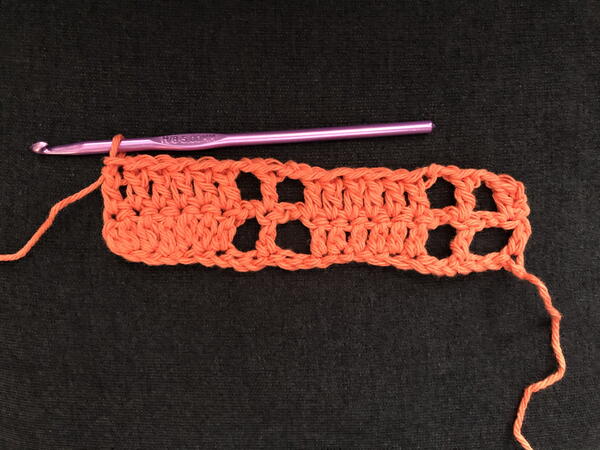
- Ch 2 and turn. *DC in next 2 stitches, Ch2, Sk Ch2 space. Repeat from * to end of the row. DC in last 2 stitches.
- Repeat row 2 until desired length is achieved.
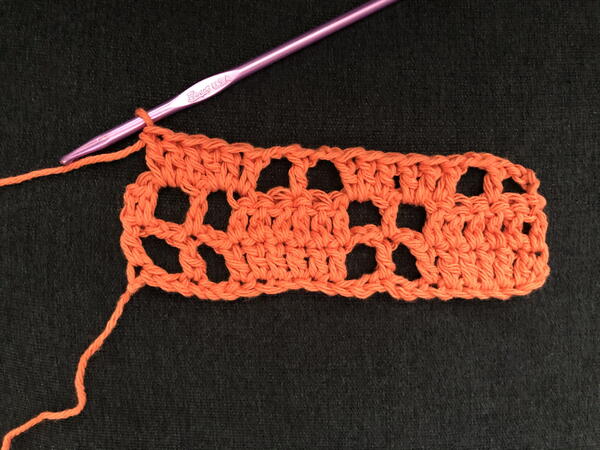
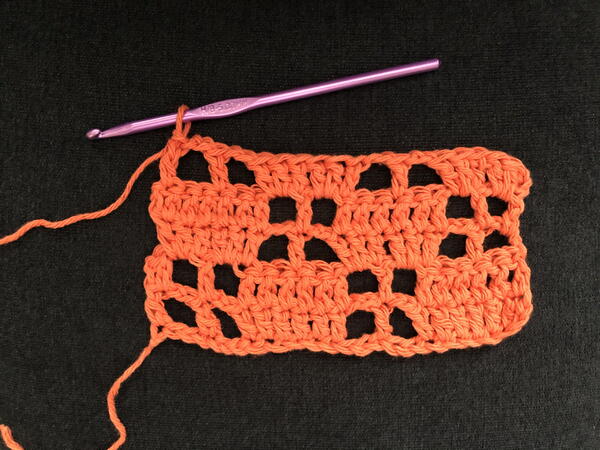
Staggered Windowpane Stitch
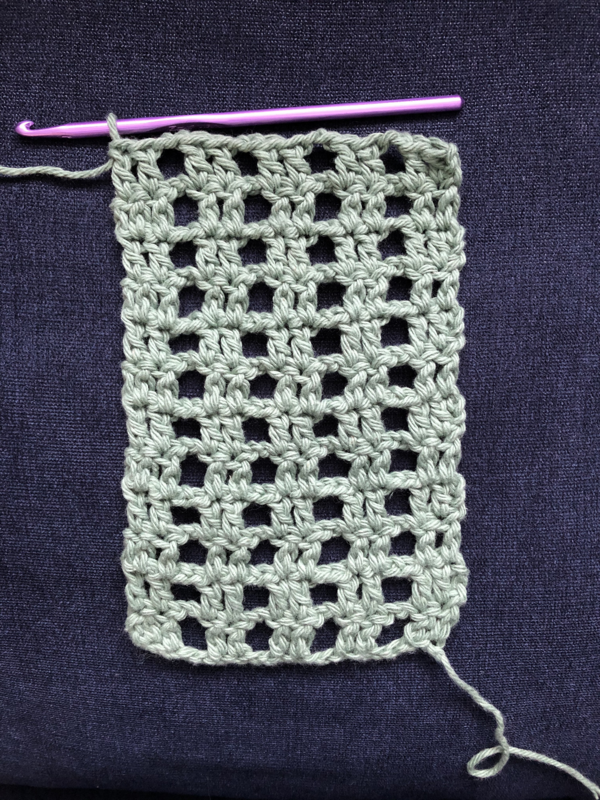
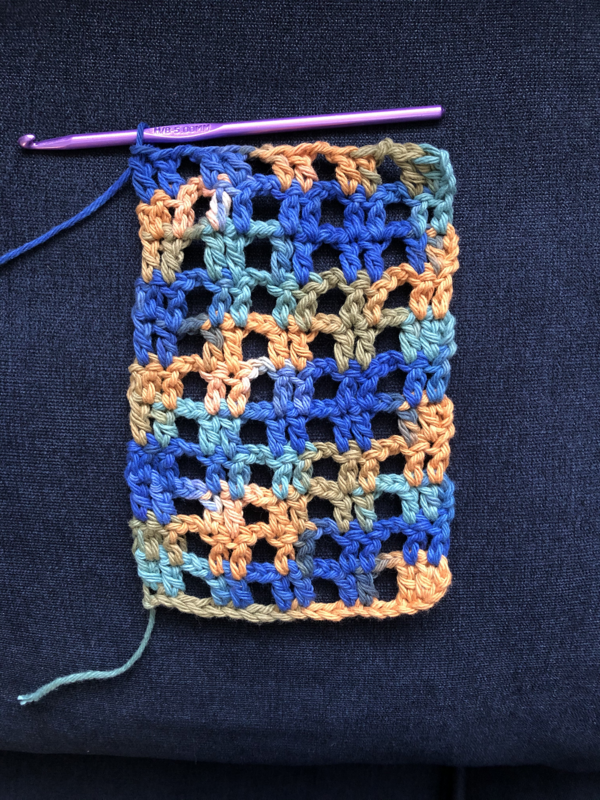
This windowpane crochet pattern is a bit more intricate and will create alternating windowpanes between double crochets.
Chain a multiple of 11 plus 3
- DC in 3rd chain from hook. *DC in next 5 stiches, Ch2, Sk2, DC, Ch2, Sk2, DC. Repeat from * to end of row.
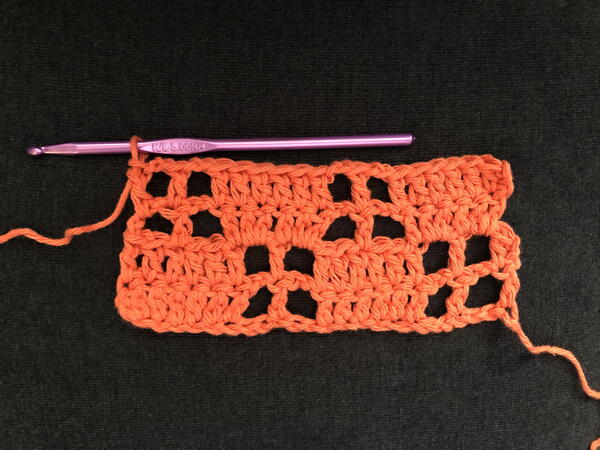
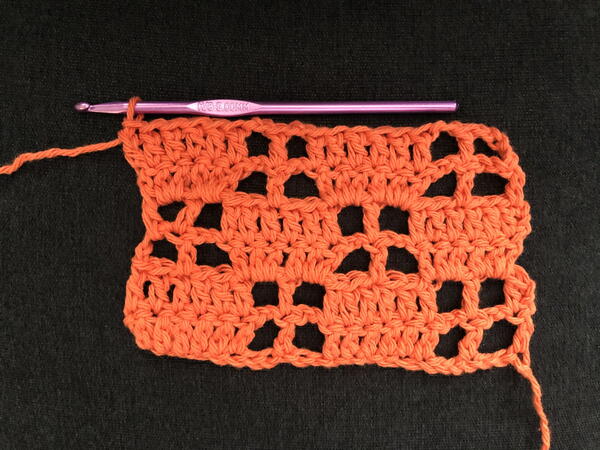
- Ch 2 and Turn. DC in first stitch. *Ch2, Sk Ch2 space, DC, Ch2, Sk Ch2 space, DC in next 6 stitches. Repeat from * to end of row.
- Ch 2 and Turn. *Ch2, Sk2, DC, Ch2, Sk2, DC in next 6 stitches as follows: DC in next stitch, 2 DC in Ch2 space, DC, 2 DC in Ch2 space. Repeat from * to end of row.
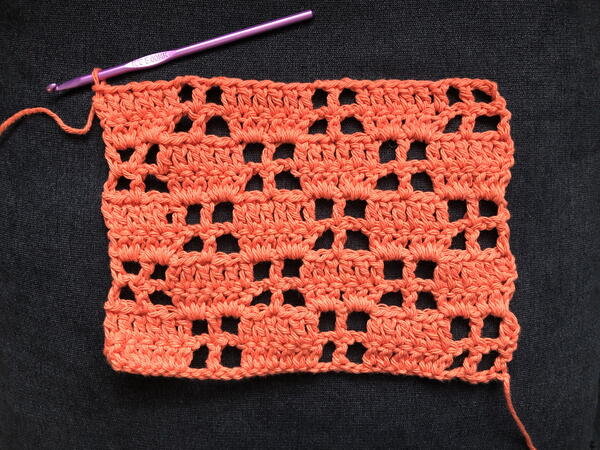
- Ch 2 and Turn. *DC in next 6 stitches, Ch2, Sk Ch2 space, DC, Ch2, Sk Ch2 space. Repeat from * to end of row. DC in last Ch2 space.
- Ch 2 and Turn. *DC in next 5 stitches as follows: 2 DC in Ch2 space, DC, 2 DC in Ch2 space. Ch2, Sk2, DC, Ch2, Sk2, DC. (First Ch2 of row counts as a DC.)
- Ch 2 and Turn. *Ch2, Sk Ch2 space, DC, Ch2, Sk Ch2 space, DC in next 6 stitches. Last DC of row will be in top Ch 2.
- Repeat Rows 3, 4, 5, 6 until you reach your desired length. Ending with either Row 4 or 6.
What to Make Using the Windowpane Crochet Stitch
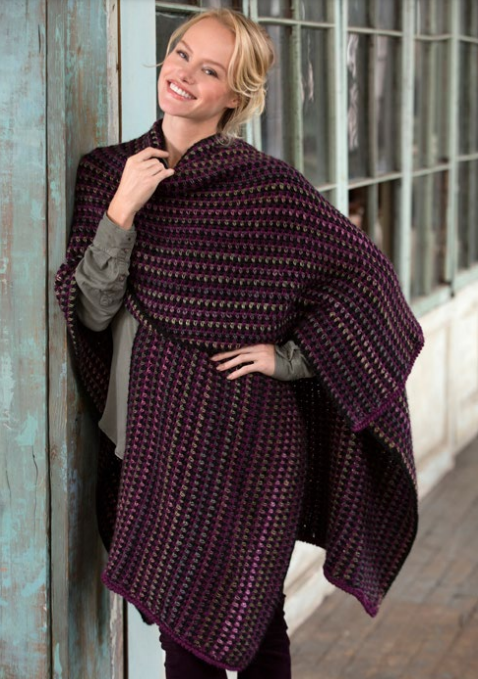
Either of these patterns would be ideal to make a lightweight scarf or shawl. I wouldn’t use either pattern for a blanket as I don’t think it would provide much warmth. It would also be a nice pattern to use for household items.
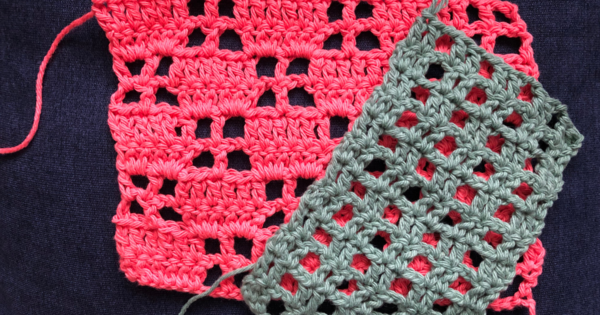
The Ideal Yarn for the Windowpane Stitch
I would say the ideal weight for either of these patterns would be medium or light. Either would really highlight the stitch pattern and provide enough structure for it.
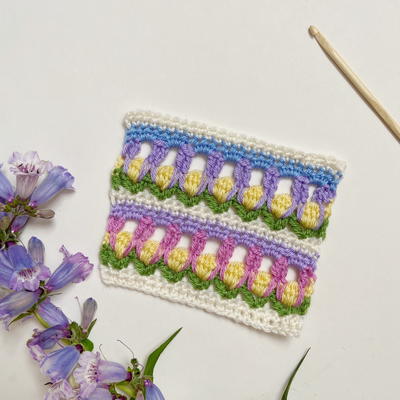
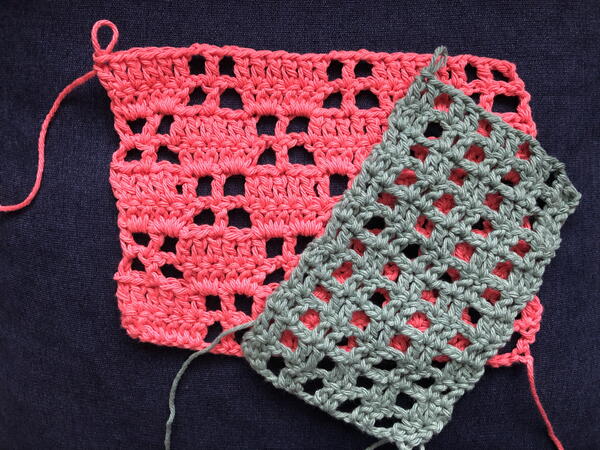
And one more thing, a variegated yarn would work up really pretty in either of these patterns, as shown below.
Up Next
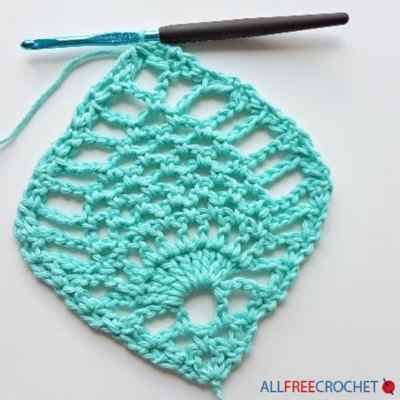
Read NextCrochet Pineapple Stitch Tutorial