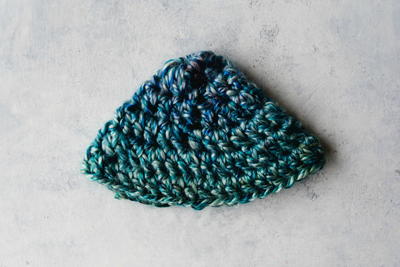
Corner to Corner Crochet Stitch

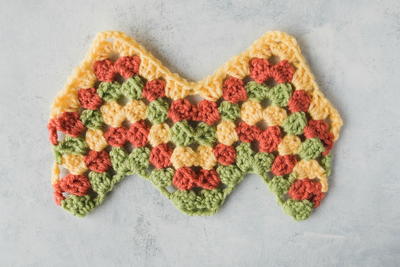
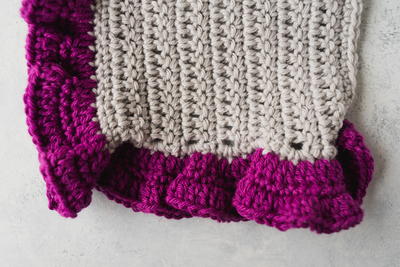
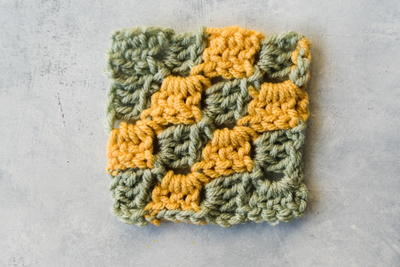
This Corner to Corner Crochet Stitch tutorial is the perfect video tutorial to get you started on how to make any crochet project you would like with this project. Whether you are making a DIY washcloth or testing your skills on a baby blanket this is the perfect crochet video to get you started. This crochet stitch is a fantastic stitch to try out when you want to make a baby blanket because it is super cuddly and warm, which is everything you could ever want in a baby blanket. Use one or two colors to recreate this corner to corner stitch.

Materials List
- Crochet hook
- Yarn in Color A
- Yarn in Color B
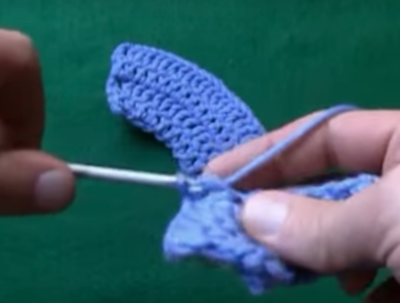
How to Corner to Corner Stitch
Corner to Corner Crochet Stitch Instructions
-
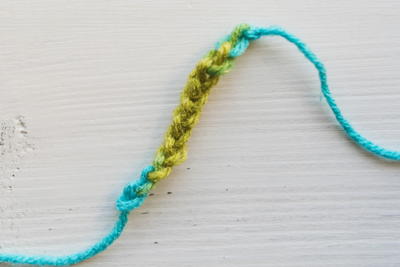
Begin with color A and by chaining six.
-
In the fourth chain from the hook, work a double crochet into that fourth stitch.
-
You should have two chains remaining and work a double crochet into each of those stitches.
-
Turn your work. Chain six.
-
Repeat steps 2 and 3.
Tip: Once you finish making your second block make sure to keep the two squares going opposite direction. They should not be turned the same way. -
Find the chain three space from your first block. Slip stitch right in that space.
-
Still using color A, chain three. Work three double crochets in the same chain three space from your first square.
-
Cut the end of the string on your yarn using Color A, leaving about two inches. Grab your Color B yarn, grab a loop, pull it through the loop left on your work from the Color A yarn, and pull the string tightly.
-
Continuing with Color B, flip your work. Chain six.
-
Repeat the steps 2 and 3.
-
Slip stitch in the chain three space. Chain three and work three double crochets in that same space as your slip stitch.
-
Look for the chain three space on your next closest block, and repeat step 11.
-
Change back to Color A by repeating step 8.
-
You need to get to the chain three space in your closest block. To do that slip stitch across that block three times in the stitches before the chain three space.
-
Slip stitch in that chain three space and make a block as you normally would.
-
Repeat this process until you've made it to the end of your row.
-
Repeat this process until you have finished decreasing to the end of your square.
Your Recently Viewed Projects
Thanks for your comment. Don't forget to share!
craftedbyfox
Feb 26, 2017
Thank you so much for this tutorial, I have seen so many gorgeous blankets made using the C2C technique and have never got round to making them as I found it a bit daunting. After watching the video and then following the written instructions I can't believe how easy it is and that I had never learnt it before. I can't wait to put these new skills to good use and will be browsing through the C2C blanket patterns in a bit to find something to make.
LynM
Jan 14, 2017
This is a great looking stitch and quite easy to learn, with the video tutorial to help you get started. Its especially great made up into baby blankets or knee rugs, because it works up nice and chunky and warm. Just remember the size of your finished product is worked out by the widest point on the diagonal, as this is where you will begin decreasing.
Report Inappropriate Comment
Are you sure you would like to report this comment? It will be flagged for our moderators to take action.
Thank you for taking the time to improve the content on our site.