How to Crochet Ribbing
Ribbing isn't just for knitting! Creating a crochet ribbed stitch is actually quite easy. Let us show you how!
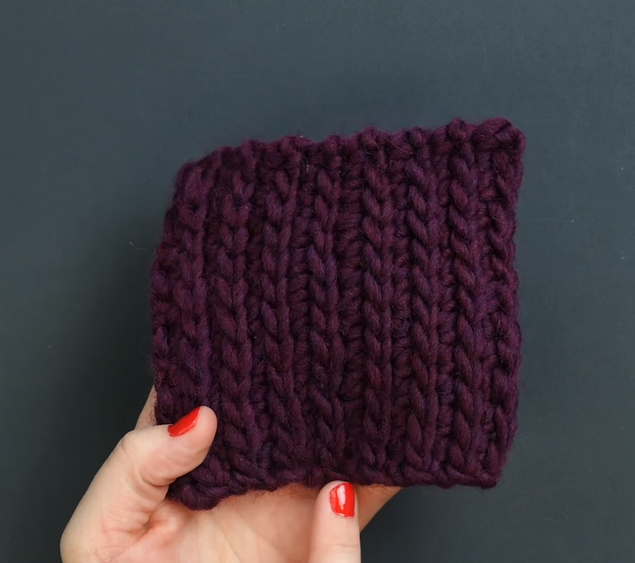
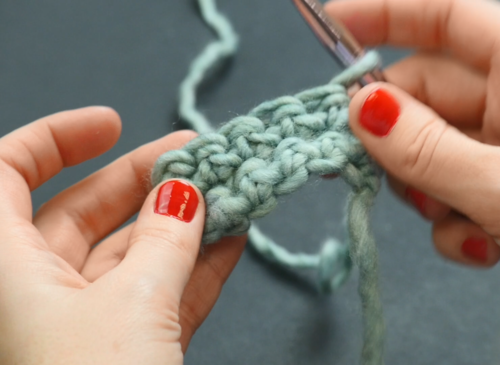
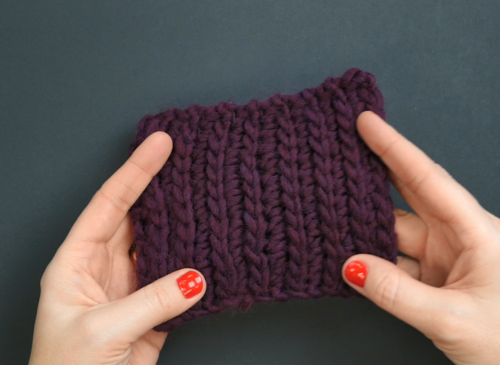
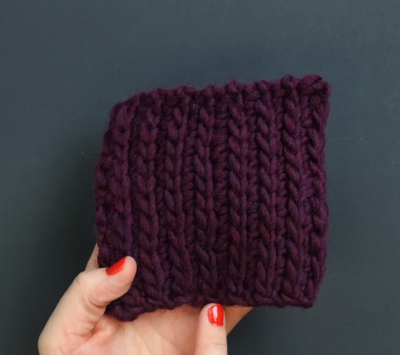
Ribbing is just for knitters, right? Wrong! You can just as easily crochet ribbing, and this video tutorial by Heidi Gustad will show you how. By alternating rows of single crochet stitches and slip stitches, learn How to Crochet Ribbing and create a ribbed piece that looks just like the knitters make. It's so creative and pretty-looking.
Using this crochet ribbed stitch is a great way to add some stretch to the bottom band of a hat, for instance, or to work into the sides of a sweater or top design to add just a bit of stretchiness. Follow along with our video or take a look at the simple pattern written below with images.

Materials List
- Crochet hook of choice
- Yarn of choice
Ribbed Crochet Pattern:
-
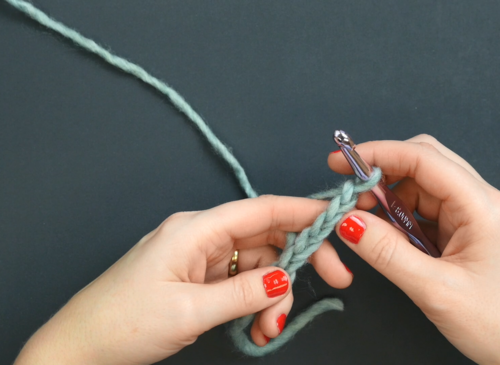
Foundation Chain: Any number of stitches your pattern requires (this tutorial uses 6).
-
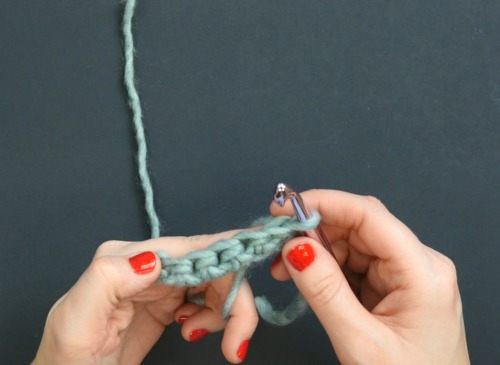
Row 1: 1 sc into 2nd chain from hook. 1 sc into each chain st across, turn.
Tip: Don't crochet too tightly throughout this process because it makes each row more difficult. -
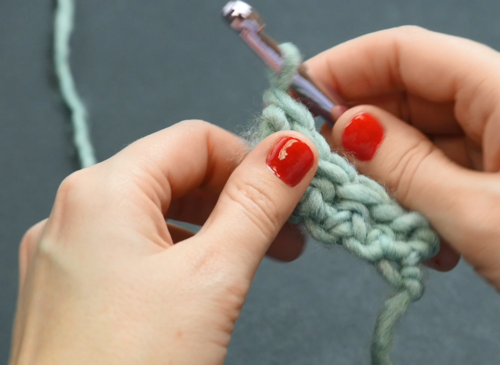
Row 2: 1 Sl st into each sc across. Ch 1 and turn.
-
Row 3: 1 sc into each sl st across, turn.
-
Repeat rows 2 and 3 until you have reached your desired length.
Which do you prefer: the knit rib stitch or this crochet version?
Let us know in the comments!
Read NextBennington Blanket Square
Your Recently Viewed Projects
Hippie Chick
Jan 15, 2018
Ribbing? One of the basics for knitting, but now there is a way to make your crochet stitching look like it has knit ribbing? That is way awesome good news to me. I am going to have to try this trick immediately. This was a great teaching video tutorial. It was very easy to understand and to follow along.
Report Inappropriate Comment
Are you sure you would like to report this comment? It will be flagged for our moderators to take action.
Thank you for taking the time to improve the content on our site.

