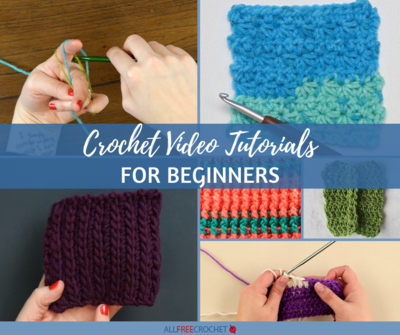
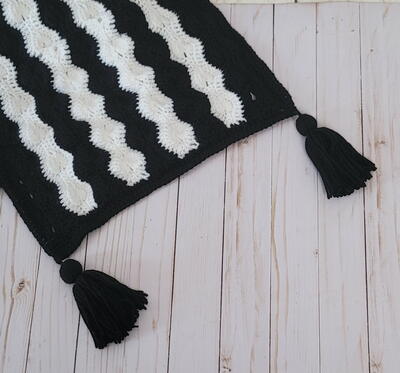
Crochet Sedge Stitch Tutorial
Expand your crochet skill set by learning how to crochet the sedge stitch!
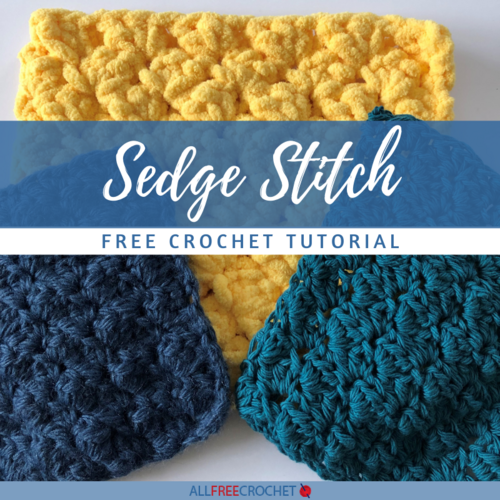
If you’re an avid crocheter you may sometimes think, too many stitches/patterns too little time. In this article, we are going to add to your “problems” by going over the Sedge Stitch.
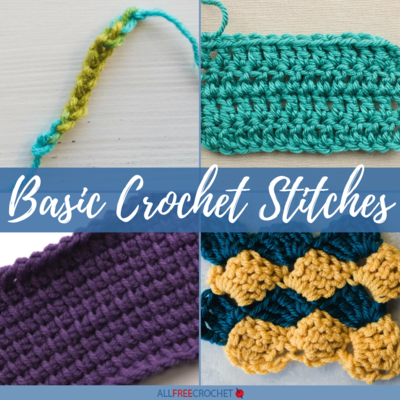
This is a great beginner stitch that only utilizes three stitches: single crochet, half-double crochet and double crochet. And what’s really nice is that each of these stitches is a step-up from the one before it so it’s very easy to memorize and work up quickly.
Sign Up for More Free Patterns!
How to Work the Stitches Needed
If you are wondering how these stitches are a step-up from the one before it here’s a quick tutorial of each one. Once you start working them in the pattern you will get a better idea of what it means.
Single Crochet: Insert your hook in the stitch, pull up a loop, yarn over and pull thru both loops on the hook.
Half Double Crochet: Yarn Over, insert your hook in the stitch, pull up a loop, yarn over and draw thru all three loops on the hook.
Double Crochet: Yarn over, insert your hook in the stitch, pull up a loop, yarn over, draw thru two of the loops on the hook, yarn over and draw thru the remaining two loops on the hook.
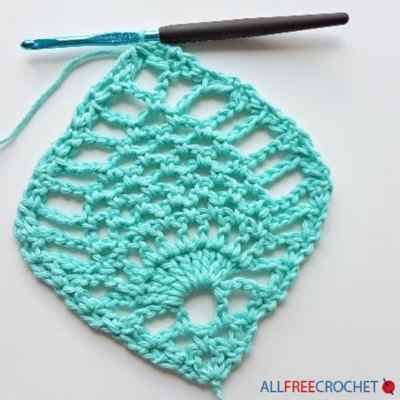
Sedge Stitch Tutorial
Start with a foundation chain in a multiple of 3.
Row 1: In the 2nd chain from the hook, work an HDC and a DC. *Skip 2 chains and work a (SC, HDC, DC) in the next chain. Repeat from * to the end of the row, ending with a SC in the last chain. Ch 1 and turn. (The last (SC,HDC,DC) of the row is worked in the 2nd to last chain and in the next chain (the last one) you work the SC).


Row 2: In the first SC work a HDC and DC. *Skip two stiches and work a (SC, HDC, DC) in the next stitch. Repeat from * across the row, ending with a SC in the last stitch. Ch 1 and turn. (You will only be working in the SC’s. In Row 2 where it says to skip two stitches you will be skipping the HDC & DC from the previous row).


Repeat Row 2 for the length of your project. For the first few rows your project may look like it’s curving, but, it will straighten out as you work more rows. Fasten off and weave in ends.

Final Thoughts
This pattern is great for blankets, potholders and even bathmats. One thing though, it’s best to work it with a thicker weight yarn so the pattern can really come through. The bumps that the stitch creates will be more prevalent and your project will have a nice texture. Also, working with a thicker weight yarn will help to close any gaps in the pattern you may see when working with a thinner weight yarn instead, unless you are someone who crochets with a tight tension, then a thinner weight yarn will be just fine to use as well.