How to Fix a Pulled Crochet Stitch

It's happened to us all - you've just crocheted a brand new scarf and you're walking around when a sharp corner catches your design and pulls on your finished piece. Now it's stretched out and there's a little loop that's been pulled out and sticks out like a sore thumb. How do you fix it?
Don't sweat - it's actually super easy to fix a pulled stitch, and you can do it all with a crochet hook or a tapestry needle and just a little bit of time. We have a video tutorial discussing some ways to fix a pulled stitch, or you can just read through our tips below.

Ways to Fix a Pulled Stitch
-
First, pull your piece both ways to stretch out your project - longways and shortways - in order to try and stretch out the other stitches around the pulled stitch and lessen its individual impact.
-
You can also follow the yarn to where its wrapped around the other stitches and insert your hook, using it to pull the pulled stitch back to where it should be.
-
If your stitch is still not in place after that, you can block your garment - grab a bath of lukewarm water and soak your garment for 30-45mins. Pat it dry and lay it out to reform. Once dry, should be all good!
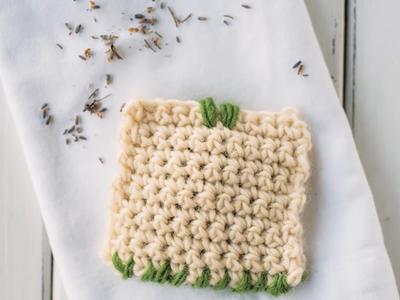
Read NextStashbuster Crochet Laundry Sachet
Your Recently Viewed Projects


Thanks for your comment. Don't forget to share!
mulberrygalprinces s
Nov 15, 2017
What a wild coincidence! A couple days ago someone asked me how to fix a snagged stitch on a crochet scarf. I said I would fix it when I come for thanksgiving. Now I can just email her the URL for thus video and she can fix it, thus learning a new crochet tip!
Report Inappropriate Comment
Are you sure you would like to report this comment? It will be flagged for our moderators to take action.
Thank you for taking the time to improve the content on our site.