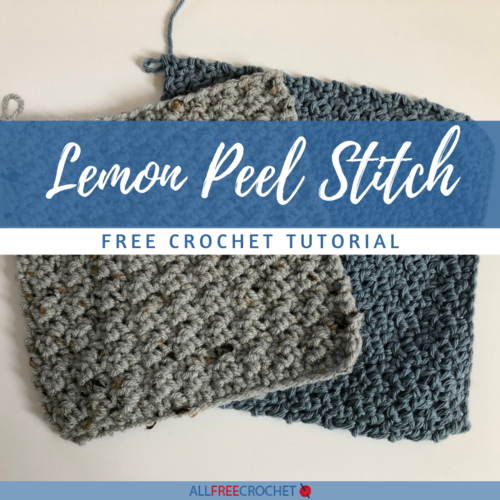
Crochet Lemon Peel Stitch Tutorial
Learn how to crochet the lemon peel stitch with these step-by-step instructions!
If you are beginner crocheter you may be intimidated by many of the patterns you come across. So many of them require you to know more than just the basic single crochet and double crochet stitch.
In this article though, we will be going over the crochet Lemon Peel Stitch which works up using those two basic crochet stitches and ends up looking a lot more difficult than what it is.
A Little Background
The Lemon Peel Stitch gets its name because once it’s worked up it has a light bumpy feel that resembles a lemon rind. It’s probably one of the most universal stitches in crochet as it works up just as well with a sturdy cotton yarn to make a dishcloth or a medium weight yarn to make a blanket or sweater. In other words, it’s great for all kinds of projects and yarn types. As for the hook size you should use, stick with the size recommended for the yarn you are using.
Sign Up for More Free Tutorials and Patterns

The Basics of the Stitch
As previously mentioned, the stitch is worked by crocheting single and double crochets. You simply alternate between the two for each row. All of the rows begin with a single crochet and end with a double crochet. Basically, for each row, you are working your single crochets into the double crochets from the previous row and your double crochets into the single crochets from the previous row. If you are a knitter, the concept is similar to the rib pattern, where you knit and purl alternatively for each row.
How To
1) To begin, crochet a foundation chain in a multiple of 2 plus 1, or more simply, an odd number

2) Next, in the second chain from the hook work a single crochet (SC).

3) In the next chain, work a double crochet (DC).

4) Continue in the SC, DC pattern for the entire length of your foundation chain. You should end with a DC.

5) For the second row (and each subsequent row), turn and Chain 1. SC in the first stich, DC in the second stitch. Once again, continue in this pattern for the entire length of the row.
You may notice that after the first few rows your project is curling a bit…

As you continue though, it will straighten out and the pattern will become visible.

Once your project is your desired length, end with a slip stitch and weave in your ends.
Try your new skills out on this...
Read NextThe Best Glue for Yarn Projects