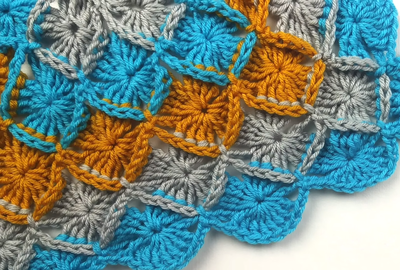
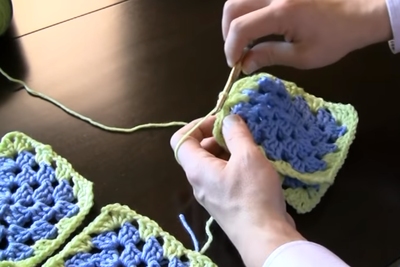
How to Attach Granny Squares--Method 1 Part 2 of 2
In How to Attach Granny Squares--Method 1 Part 2 of 2, Michael Sellick discusses how to seam together granny squares. This time you'll learn how to combine 4! Soon you can make your very own granny square afghan.
Read NextStashbuster Crochet Laundry Sachet
Your Recently Viewed Projects
Thanks for your comment. Don't forget to share!
eviemartin 2656930
Oct 04, 2012
I just about always crochet seams together and granny squares are seams. I am currently crocheting a baby blanket that has 48 squares and when you sew or crochew them together you have to go into the back stitch only which makes a ridge on the right side. The pattern says to whip stitch them together, but it is so much easier to use a crochet hook. A smoother seam can be accomplished by slip stitching them together instead of using the single crochet stitch.
sandeleh
Oct 04, 2012
I was really excited when I saw this series of videos, but after watching them I was disappointed. Michael does all of the joins from the right side of the squares so they all look pretty bad. Has he never heard of joining with right sides of the squares together so the seams are on the wrong side of the afghan? My sewn seams are invisible from right and wrong side - surely he can do better.
franceskoch 808558 1
Sep 28, 2012
Love it it helps learn when it's hard to read the pattern and understand thank's and it's free that help's too.
uribedaniella 7732 381
Apr 06, 2012
My mom taught me to do it both ways, either ribbed on top or with the rib on the wrong side and alsos taught me to join as I go along, so I guess that is three ways for me!!
Report Inappropriate Comment
Are you sure you would like to report this comment? It will be flagged for our moderators to take action.
Thank you for taking the time to improve the content on our site.