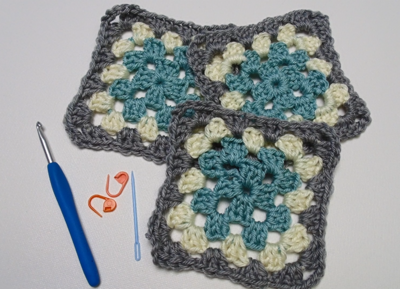
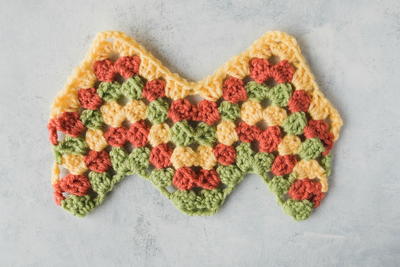
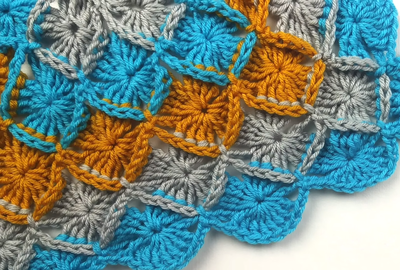
How to Assemble Your Granny Squares

Now that you have mastered making the perfect granny square you probably want to learn How to Assemble Your Granny Squares. This video tutorial is the perfect way for you to learn not one but three ways you can assemble your granny squares. Whether you are working on a granny square blanket pattern or are incorporating them into a different design, this video can show you every different way you can assemble your granny squares and what each way will look like!

Materials List
- Finished granny squares
- Crochet hook
- Yarn needle
- Yarn
How to Assemble Your Granny Squares 3 Ways
To Assemble Your Granny Square Using the Whip Stitch
Check out our photo and video tutorial on how to crochet the whip stitch for an in-depth tutorial!
-
Take two of your granny squares and make them face each other.
-
Whip stitch the edges together by taking your yarn needle and inserting it into the granny square that is on the inside.
-
Make sure to match the stitch on the opposite granny square as you work from the outside to the inside.
-
Then, go back into the same stitch you started with.
-
Repeat this along one edge of your granny squares.
To Assemble Your Granny Square Using the Mattress Stitch
-
Insert your yarn needle into the center stitch of the corner of your granny square, and pull through.
-
Take your yarn needle and go in from the outside to the inside of the next stitch, and go through your other granny square from the inside to the outside.
-
Take your yarn needle and go from the outside to the inside.
-
Repeat this from the inside to the outside and then outside to inside.
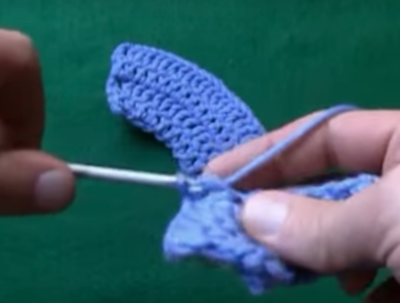
To Assemble Your Granny Square Using a Crochet Hook
-
Start with the granny square that is closest to you (the square on the outside), find your middle stitch of the corner, and pull a slip knot through that stitch.
-
With your yarn on the bottom, insert your hook into the matching corner, yarn over, and pull through both stitches.
-
Insert your hook through the next stitch, keeping your yarn underneath your hook. Insert your hook into the matching stitch, yarn over, and pull all the way through both stitches and the loop on your hook.
-
When you get to the end, you will just want to chain one and continue on to the next square.
Weave In Your Ends
After you join your granny squares with the whip stitch, you'll have a lot of ends, or lengths of yarn leftover from each join. You'll want to make sure you go through your completed blanket project and weave in all your ends so that you don't have bits of yarn hanging all over the place, giving your design a frayed look. You can either weave in your ends after you complete each join, or you can wait until you're completely done assembling your afghan - it's your choice!
Check out this video tutorial on how to weave in your ends for more info!
-
To weave in your ends, you'll need to thread your yarn end onto a yarn needle to start.
-
Starting with the stitch closest to the yarn end you're working with, push the needle under three or four stitches going up the rows. You only want to stitch through the top stitches so that it won't show on the public side of your garment. Pull the yarn through so that it is taut, but not tight enough to pucker your piece.
Note: If you're working a scarf or a blanket that has no designated "public" side, or if you're working with a coordinating color yarn, you can stitch through both top and bottom stitches. -
Move one stitch to the side and slide your needle under three to four more stitches going down the rows (you should have made a yarn U-turn), pull tight.
-
Repeat once more, going up the rows so you have an 'S' with your stitches. The more times you change directions when weaving in your ends, the less likely your ends will be to unravel.
-
Carefully cut the rest of the end off close to your garment. You might have a tiny tail that still sticks out, but over time the fibers will 'felt' into the surrounding stitches.
What is your favorite method to join your granny squares?