How to Crochet Curly Q Edging

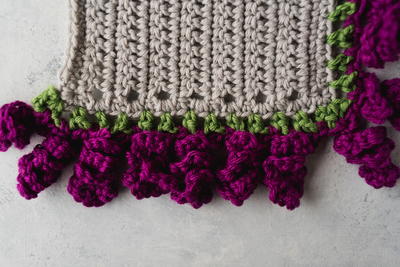
This How to Crochet Curly Q Edging tutorial can really help you add that extra flare to your next crochet project. If you are sick of having basic borders on your crochet scarves or shawls why not try and switch things up? Curly Q edging is a super cute and fun way for you to really amp up your next crochet project. Plus, if you are working through a more basic scarf pattern, you can adorn the edges of your scarf with this curly q pattern and really put some pizzazz in it!

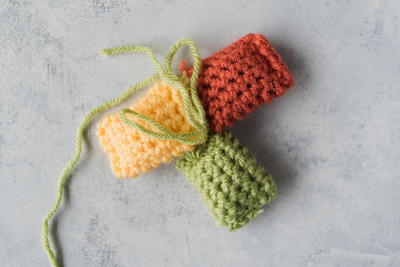
Materials List
- Yarn
- Crochet hook
How to Crochet Curly Q Edging
Curly Q Edgings Tutorial Instructions
-
Take your project and your first color of yarn and insert your hook into the end of your row. Then, add a slip knot in your different color yarn to your hook.
Pro Tip: "I recommend creating a single crochet border around the edges of your project to help make the curley Q edges look cleaner." - Kristi Simpson -
Slip stitch and chain 1. Then, in that same stich single crochet and chain one.
-
Skip one stitch, single crochet and chain 1.
-
Repeat step 2 all the way to the corner of your edging.
-
When you get to the corner, chain one and work a single crochet into the corner stitch. Then, chain 2 and single crochet in the same stitch.
-
Repeat step 2 all the way around your next edging until you reach another corner or finish your edging.
-
You are going to create your curly Q's in the chain spaces you made in your first color of yarn.
Note: You can use the same color of yarn or switch it up depending on your preference. -
Find that first chain space, pull your yarn through and chain 13.
-
Work in the top part of the chain that is closest to the hook. Single crochet 3 times in that one chain.
-
Repeat step 9 for each of your 13 chains.
-
Slip stitch in the same chain space you started your curly Q with. Chain 1, and slip stitch into your next chain space.
-
Repeat steps 8-9 all the way around your work.
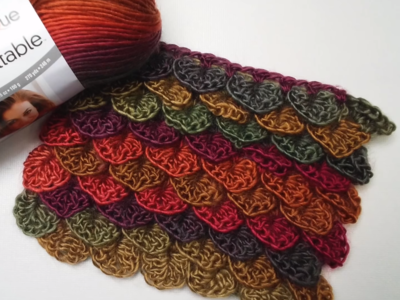
Read NextCrocodile Stitch Crochet Tutorial