This project was submitted by one of our readers, just like you.
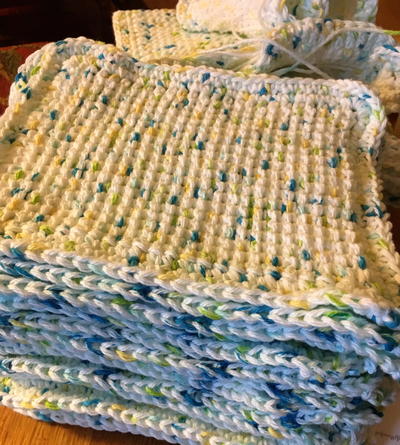
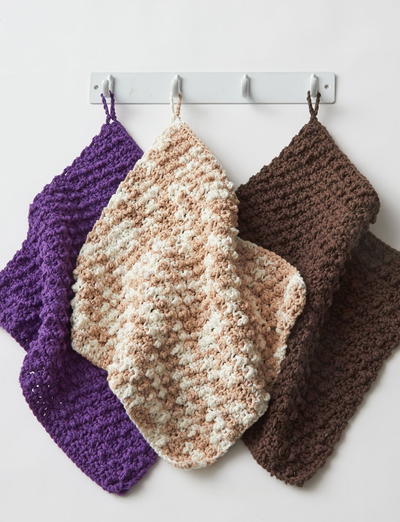
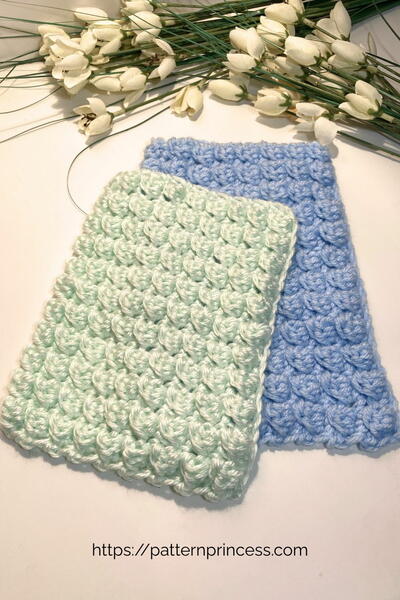
Tunisian Crochet Dishcloths

Tunisian Crochet Dishcloths
"Learn how simple Tunisian crochet can be with this pattern and tutorial for Tunisian Crochet Dishcloths. Once you get past the first few rows, you will be moving along effortlessly. It kind of feels a bit like you are knitting because of adding the loops onto the crochet hook, yet at the same time, you are only using one crochet hook to achieve these results. The stitch is a close weave and is great for dishcloths, spa washcloths, pot holders, pillows, cowls, baby washcloth, and much more."
NotesPattern on website includes a photo tutorial, right hand and left hand video tutorials too.

Crochet HookH/8 or 5 mm hook
Yarn Weight(4) Medium Weight/Worsted Weight and Aran (16-20 stitches to 4 inches)
Crochet Gauge14 Single Crochet stitches per 4 inches.
Finished SizeApproximately 5 1/2 inches wide X 7 inches long without border. Add 3/4 of an inch all the way around if you add the 2 rounds of SC border.
Materials List
- 1 ball of Peaches & Cream cotton yarn or some other cotton yarn 120 yards.
- Size H 5.0 MM crochet hook
- Size H 5.0 MM Tunisian crochet hook
- yarn needle
- scissors
Instructions
-
CH 20
-
Row 1 -- 24:
Forward Pass
Starting from 2nd ch from hook, insert hook into the back loop of your chain, yarn over, pull up loop and keep on hook. Continue this way across until the end; keeping all loops on the hook.
Return Pass
Yarn over and pull through one loop (the first stitch on the hook). Yarn over and pull through 2 loops. Repeat across to the end. When there is one loop left on the hook, you are at the end of the row.
-
Finishing: Bind off last row. Weave in yarn ends and cut off excess.
Dishcloth can be done here; However, the photo shows the ones I made with a crochet border on them.
Crochet Border
-
Round 1: Slip stitch onto the crochet hook, insert into the top two loops of a stitch on one of the sides or corner. (does not matter where you start). Yarn Over, Pull through the slip stitch. Tighten the slip stitch. Complete a SC in each ST around with 3 SC in each corner ST. End with a SL ST into the first SC.
-
Round 2: CH 1, Complete a SC in each ST around with 3 SC in each corner ST. End with a SL ST into the first CH.
-
Finishing: Weave in yarn ends and cut off excess yarn.

Read NextSuper Speedy Textured Dishcloth