Crocheting the Seed Stitch
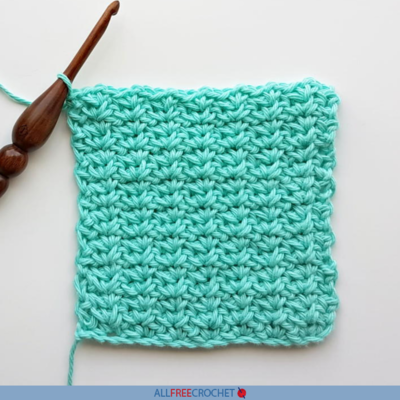
This seven-step tutorial teaches you how to crochet the seed stitch. The seed stitch is an alternating single and double crochet stitch. It gives a closed stitch, which resembles a knitted seed stitch. Think of all the really cool crochet patterns you'll be able to work up now that you know how to crochet this stitch!
You'll feel so accomplished after you successfully complete this crochet tutorial. To see another version of the seed stitch, check out our How to Seed Stitch Crochet page.
- Start with a chain. Turn, single crochet in the 2nd stitch from the hook.

- Double crochet in the next stitch.

- Single crochet in the next stitch.

- Repeat steps 2 and 3 across the row.

- One row of seed stitch completed.

- At the end of the row, turn. If you ended in a double crochet, then single crochet in the first stitch. If you ended in a single crochet, slip stitch in the first stitch, chain 2, (takes the place of the first double crochet), single crochet in the next stitch.

- Continue across the row, alternating by making a single crochet in the double crochet of the previous row, and vice versa. Photo shows 3 rows of seed stitch completed.


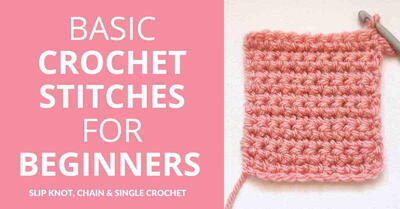
Find more stitch tutorials in our collection of 22 Basic Crochet Stitches
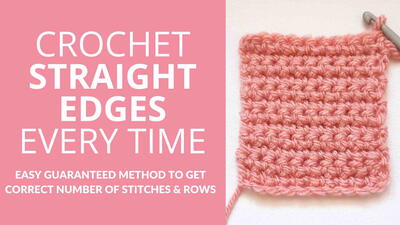
Read NextCrochet Straight Edges Every Time
Your Recently Viewed Projects

Thanks for your comment. Don't forget to share!
sdmcdaniel1967 872 4135
Jan 03, 2018
Wow, I've been doing this stitch for years, I never realized it was an actual stitch pattern.
EditorLP
Jan 13, 2017
I love the way seed stitch looks in knitting, but didn't know there was a crochet seed stitch! I prefer crochet to knitting, so I'm glad to know this tutorial exists. I will be trying this soon!
nancypetrina 55900 95
Sep 07, 2014
What is a mock seed stitch as in the Aran Toggle Wrap Pattern? Thank you for any info you can provide.
tamarque
Mar 09, 2011
Not only can you convert crochet/knit patterns, there are a couple of books out there to teach you. However, not all patterns will convert easily. What you need to do is work with dimensions and careful guage measuring. For example, if you have a sweater that is 40 hips at the hip you need to figure out how many stitches you need for that dimension and your guage will give you this. You can figure the lenth and width of all the parts. I would either work with graph paper, or sketch out the pattern pieces. and figure the number of stitches for each dimension. The problems you run into concern the pattern stitch itself. Some are easier to convert than others.
alvaa38 1250787
Nov 01, 2010
Hello, my question is for anyone who can answer. Is there a way to convert knitting patterns to crocheting. I come across so many knit patterns that I could do if they were crochet patterns! Any suggestions or hints are welcome and appreciated. alvaa38@gmail.com
Member 4229556
May 15, 2010
Although this may be your way of doing a seed stitch do you want to try my way, chain 25 row 1 sl st in 3rd chain from hook, hdc in next ch, sl st in next ch, repeat from to end, sl st in trning ch, ch 2 trn Row 2, slip st in turning chain hdc in next hdc, sl st in slip st of last row, repeat to the end of the row. 24 st. repeat these two rows. Let me know what you think of this one plese I like it, Thanks Jean
Runeshadow
May 15, 2010
I adore this stitch!! It gives the softest texture imaginable for crochet. My tip I always by crocheting an odd number of chain stitches, so every row ends in a double crochet. When I turn, I ch 1 and start with a single crochet. I never have to worry about whether to ch-1 or sl st ch-2 when turning. This also gives the piece a smoother edge than using a starting chain with an even number of chain stitches. This texture works great for baby, toddler, and kid scarves... you can make them as narrow or as wide as you like. Add fringe, no edging rows needed, and you're done!
sdmcdaniel1967 872 4135
Jan 03, 2018
I do the same thing. I use this stitch in even numbers... just remember that if you use even numbers then when you chain 1 at the beginning of each row, the chain 1 DOES NOT count as a stich! )
Mema1
May 15, 2010
Thank you for this article. I had started a tote bag in the seed pattern. I was not sure what to do at the beginning of the next row. Now I know. Thanks again.
janiegirl
May 07, 2010
I had started a blanket in this pattern just before I ran across this. It works easily, creating nice borders--even if my stitches aren't as nice as yours.
Report Inappropriate Comment
Are you sure you would like to report this comment? It will be flagged for our moderators to take action.
Thank you for taking the time to improve the content on our site.