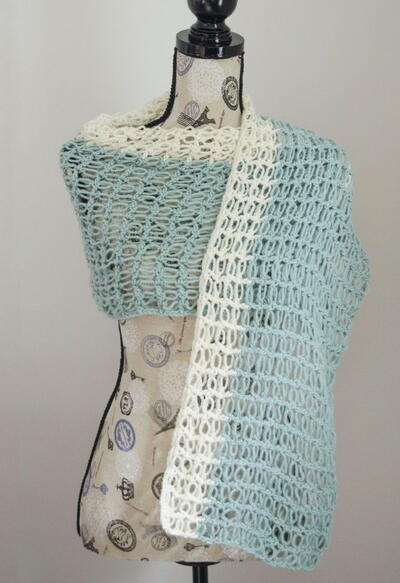
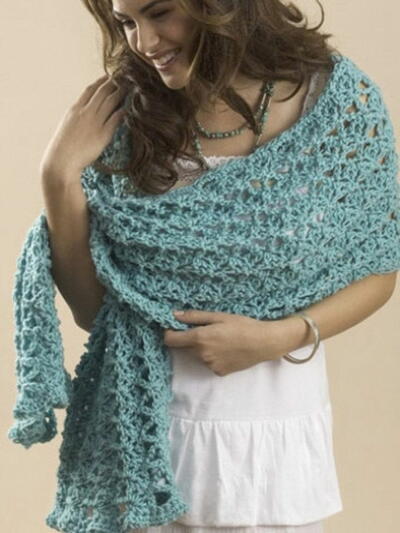
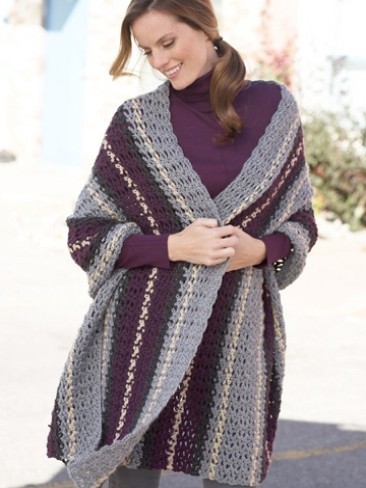
Shimmering Blue Rose Wrap

Sparkle in the evening with the Shimmering Blue Rose Wrap. Hints of metallic thread are twisted into the Red Heart Yarn to create a shimmer effect. Red Heart Shimmer and Red Heart Sashay yarn are both used to complete this free pattern. Crocheted roses are attached to create a truly elegant and timeless design. This stylish crochet wrap is the perfect layering piece to wear out to dinner with that special someone. Ladies will love hitting the town in this figure-flattering crochet pattern by Red Heart.

Crochet HookH/8 or 5 mm hook
Yarn Weight(4) Medium Weight/Worsted Weight and Aran (16-20 stitches to 4 inches)
Materials:
- RED HEART® Shimmer™: 2 skeins 1810 Royal A
- RED HEART® Sashay™: 1 skein 1934 Rhumba B
- Crochet Hook: 5mm [US H-8]
- Yarn needle
Instructions:
GAUGE: With A, 4 clusters and 7 rows = 4” in pattern st. CHECK YOUR GAUGE. Use any size hook to obtain the gauge.
SPECIAL STITCH: shell: (2 dc, ch 1, 2 dc) in same st or space
With A, ch 35
Row 1: Shell in 5th ch from hook, *skip next 3 ch sts, shell in next ch, repeat from * across to last 2 ch sts, skip next ch, dc in last ch, turn—8 shells.
Row 2: Ch 3 (counts as dc here and throughout), skip first 3 dc, shell in ch-1 space of each shell across, dc in top of beginning ch, turn.
Repeat row 2 until piece measures 56” from beginning.
Fasten off.
Small Rose (make 4):
Cut a 36” long piece of B.
Unroll the yarn so that the edge with a row of holes is visible. Treat the row of holes as a chain. Insert the crochet hook into the first hole, skip 2 holes, insert hook into next hole, pull this st through the first st on the hook. Continue to chain in this manner across the piece of yarn. Finish by pulling end of yarn through last st. Roll ruffle to create a rose. Cut an 18” piece of A, thread onto yarn needle. Sew through rolled rose in several places to secure.
Large Rose (make 2):
Cut a 60” piece of B. Complete as small rose.
Sew 2 small roses and 1 large rose to each end of wrap.
Weave in ends.
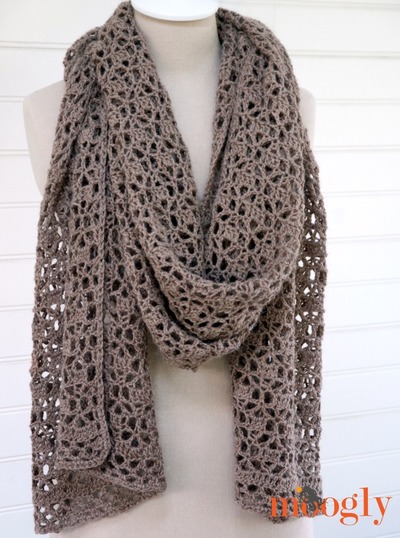
Read NextA One Skein Wrap
Your Recently Viewed Projects
Thanks for your comment. Don't forget to share!
mulberrygalprinces s
Sep 21, 2018
This is very pretty. The directions are very well written and easy to understand. It's a simple pattern using basic stitches. I think any one can follow along and make it. I too would either change the color of the roses or add less. Just one at the top would be plenty.
Morehouse17
Oct 31, 2017
Upon completion of this beautiful summer lace crochet wrap pattern, I am sure the owner will be looking for a reason to bring it out. The design is stunning and sure to garnish a lot of attention and compliments. No matter the color selection I am sure this wrap will get a lot of wear.
Hippie Chick
Sep 19, 2017
This is a beautiful shade of blue. Not overly impressed with the color used for the roses though. Definitely think that they need a brighter color to match the blue of the wrap. This appears to be a very simple pattern for the scarf and very easy to understand.
Betty
Jul 25, 2017
Where is the photo?
AFC Editor Julia
Jul 25, 2017
Hi coopereli, We transferred a lot of our older patterns to a newer template, and so a lot of our older patterns had images that are too small for this template. We're in the process of finding and replacing these images so please be patient with us! Julia, editor for AllFreeCrochet
MamawV 2850129
Oct 27, 2014
If I want to make this larger, in what multiples to I need to add to my chain??
chriswendy 5033352
Sep 04, 2013
Go to Red heart and search for Rose Parade Wrap to find the original free pattern. It's a PDF and will print very nicely.
Darlene Kief
Feb 10, 2013
I am a beginner crochet person. If I have questions, how can I get answer
eviemartin 2656930
May 23, 2013
There is an online forum called Knitters Paradise and it is free to join. There are people from all over the world on this forum who knit and crochet and are very helpful when others post questions. Check it out. As a beginner, I think you will find this site very helpful.
Sherry Buenrostro
Feb 15, 2012
I can't it to print I've tried 3 times ... Thank you. Sherry
editorKS
Feb 16, 2012
Hi, Sherry. Try highlighting the pattern first, and then when you click Print and the box appears, click "Selection" instead of "All" under Print Range. This will allow only the highlighted text to print. Alternatively, you can always copy and paste the pattern into a Word document and print that way. Hope this helps! --Editors of AllFreeCrochet
Sunny75771 4310501
Feb 29, 2012
If you go to the top where the big blue "P" is and click on that, one of the selections is "Print". Click on that and it should print perfectly. I just did that and it printed up wonderfully.
Report Inappropriate Comment
Are you sure you would like to report this comment? It will be flagged for our moderators to take action.
Thank you for taking the time to improve the content on our site.