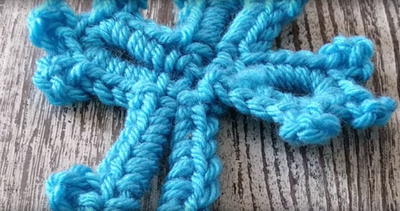
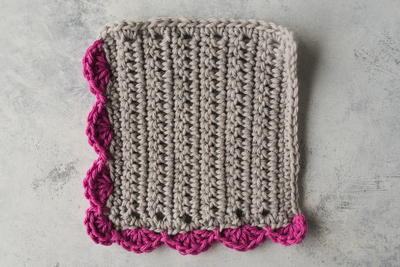
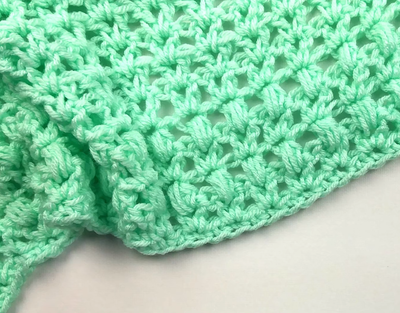
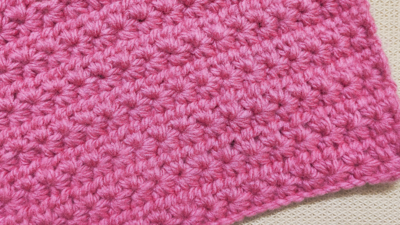
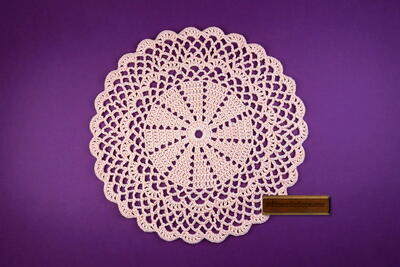
Bavarian Crochet Stitch Tutorial

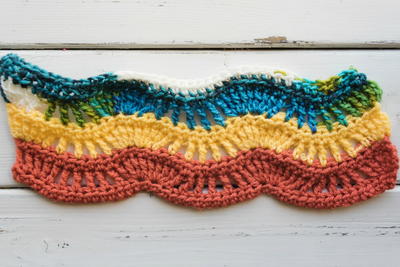
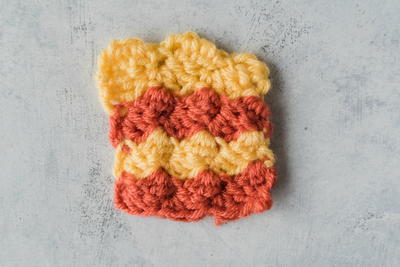
The Bavarian crochet stitch is a simple stitch technique that's worked from the center out, much like a granny square design. The pattern is a two row repeat, so there's not much to remember as you work along, and it's based off of the treble crochet stitch. The Bavarian crochet stitch also has you work in the back post to create some raised ridges that act as borders around each row. This crochet stitch is also called "the wool eater" as it's a perfect way to use up and show off all of your leftover yarn scraps and help you pare down your yarn stash.
Crochet HookK/10.5 or 6.5 mm hook
Yarn Weight(4) Medium Weight/Worsted Weight and Aran (16-20 stitches to 4 inches)
Materials List
- Medium weight yarn of choice (or yarn weight suggested in pattern)
- K/10.5 or 6.5 mm hook (or hook size suggested in pattern/based on gauge swatch)
Bavarian Stitch Tutorial
Round 1
-
With color A, ch 6. Join with sl st to 1st ch to make a ring.
-
Ch 5. Treble cluster (yo twice, insert hook into stitch. yo and pull through the first two, yarn over and pull through 2 ) x4. You now have 5 loops – yarn over and pull through all.
-
Ch 5. Sl st to ring. This creates the first part of the center.
-
Ch 5. Treble cluster (yo twice, insert hook into stitch. yo and pull through the first two, yarn over and pull through 2 ) x4. You now have 5 loops – yarn over and pull through all.
-
Ch 5. Sl st to ring. This creates the second part of the center.
-
Ch 5. Treble cluster (yo twice, insert hook into stitch. yo and pull through the first two, yarn over and pull through 2 ) x4. You have 5 loops – yarn over and pull through all.
-
Ch 5. Sl st to ring. This creates the third part of the center.
-
Ch 5. Treble cluster (yo twice, insert hook into stitch. yo and pull through the first two, yarn over and pull through 2 ) x4. Have 5 loops – yarn over and pull through all.
-
Ch 5. Sl st to ring. This creates the last part of the center.
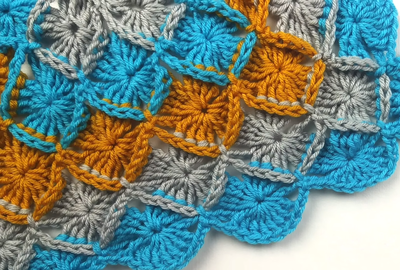
Round 2
-
Ch 2. In top of the treble (in the loops up top), place 12 treble in that one spot. Ch 2, sl st into the sl st of the previous round. Repeat at the top of the other three trebles. Cut and finish off.
Round 3
-
With color B, start with a sl knot and join in between 4th and 5th treble of the previous round.
-
Ch 5. Working in the back post, work a tr-cluster around the post from the back to the front. Repeat over 4 posts.
-
Ch 5 and sl st between 8th and 9th treble – you’ve created a corner.
-
Ch 5. Working in the back post for 8 stitches, work a tr-cluster for all 8.
-
Ch 5. Sl st between the 4th and 5th treble. Continue in alternating pattern around the square.
Round 4
-
Ch 2. In the top of the cluster like before (or in the first chain), place 12 treble stitches. Ch 2, sl st in to the sl st of the previous round.
-
Ch 2. Work 8-treble cluster in the next stitch. Ch 2, sl st to previous sl st. Continue around. Break off string.
Rounds 5-?
Continue pattern with color C. Each color is used for two rows. Crochet the 12 cluster in the corners so you'll only have those 4 times a round. The rest of the time you'll have 8-treble clusters.
Up Next
12 Beautifully Unique Crochet Stitches >>
What colors do you want to use for this stitch?
Let us know in the comment section below!
Your Recently Viewed Projects
Thanks for your comment. Don't forget to share!
Hippie Chick
Jul 13, 2017
Great tutorial and I learned a new stitch today. Kristi always does an excellent job with her tutorials. She makes them fun and knows her stuff. She explains each step very concisely and in an easy to understand way. She even throws in some things that she has learned while she was doing this.
Report Inappropriate Comment
Are you sure you would like to report this comment? It will be flagged for our moderators to take action.
Thank you for taking the time to improve the content on our site.