Crochet Picot Stitch (Video + Written Instructions)
Learn how to do a picot stitch with this simple how to crochet video and tutorial.

The Picot Stitch is usually used as an edging, added onto a finished garment. There are patterns that use this crochet stitch in combination with other special stitches to form a beautiful and unique square or afghan.
The picot stitch can seem complicated, but it's really quite simple when you practice it since it's just a combination of single crochet stitches and chain stitches.
As a rule of thumb, the larger and more noticeable you want your scalloped picot edge to be, the more chains you'll add between the single crochet stitches. The picot stitch makes a fantastically simple border for crochet afghans and a wonderful edging for the hems of sweaters and top patterns.
Subscribe to the Hooked on Crochet newsletter for more great patterns!
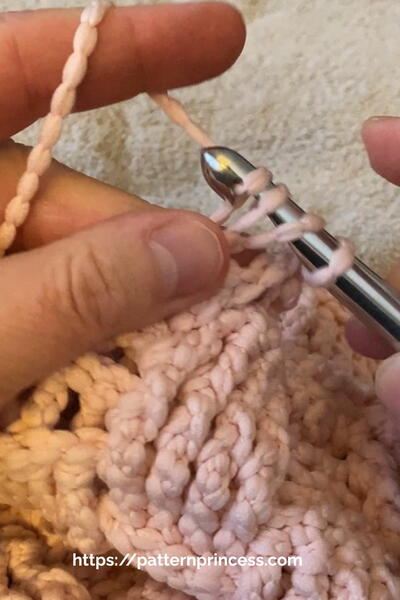
How to Crochet a Picot Stitch
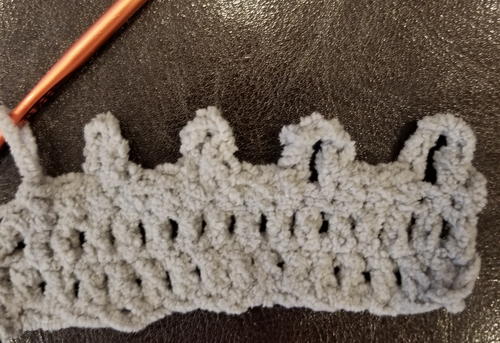
Small Picot Stitch
-
Work along the edge of a finished item. (To make a length of picot edge to add to a ready-to-wear purchased item, begin with a chain, or a strip of single crochet or double crochet.)
-
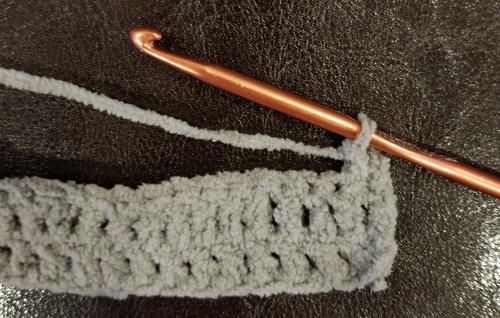
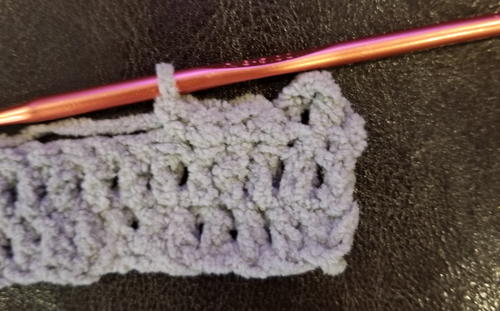
Single crochet in the first stitch.
-
Chain 3, single crochet in the next stitch.
-
Single crochet in the next 3 stitches.
-
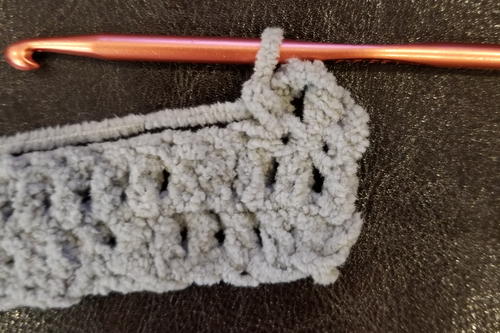
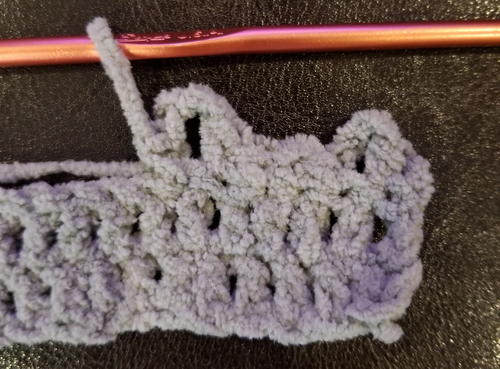
Chain 3, single crochet in the next stitch. (Picot formed).
-
Repeat step 4 across the row.
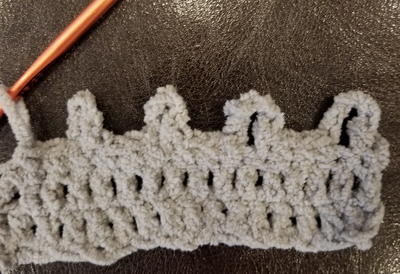
Medium Picot Stitch
-
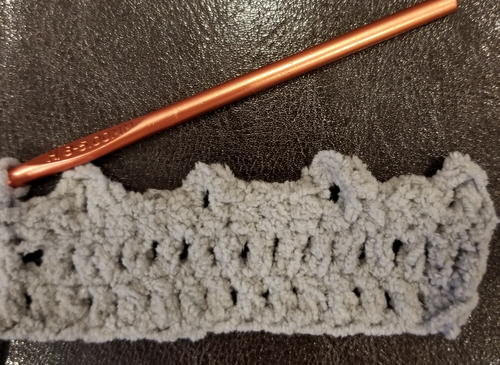
Repeat the steps above for a small picot stitch, except chain 5 instead of 3.
-
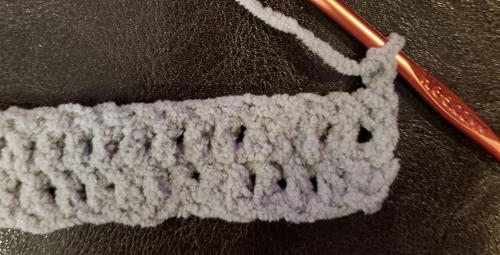
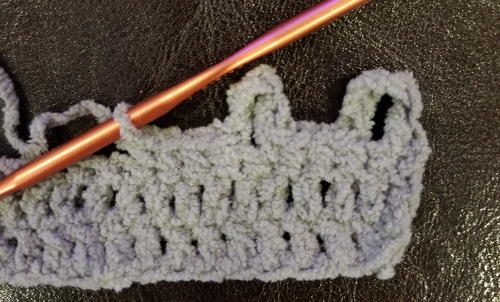
To make a slightly flared picot edge, as shown in the left two stitches in the photo below, do the sequence of single crochet, chain 5, single crochet in the same stitch.
-
This will flare out slightly, and could be useful for the bottoms of tank tops, or skirts, on the edges of sleeves, or hats.
What other items would you add a picot edging to?
Your Recently Viewed Projects
Thanks for your comment. Don't forget to share!
rcjeter 5660235
Nov 10, 2013
Thanks for this instruction. Very simple compared to the OLD way I've been doing it! EXCELLENT!
marydrake2010 9605 875
Jan 28, 2013
I THINK IT IS A BEAUTIFUL STITCH FOR A OPEN NECKLINE. I JUST WANTED TO SAY THANK YOU FOR ALL THE TUTORIALS AND E BOOKS THAT I HAVE BEEN ABLE TO DOWNLOAD FROM THIS SITE. THANK YOU AGAIN AND MAY THE GOOD LORD BLESS YOU ALL FOR ALL YOU DO FOR PEOPLE.
sherhagenhoff 2897 326
Dec 31, 2011
OH! I have a friend who uses this stitch on the neckline (at least in the front) of every shirt she wears, and she adds beads. We all just rave about her talent. She deserves that, but- after seeing this, I just might be able to stun them too! The beads added to the tips are gorgeous. Thanks for the lesson!
MissMaggie
Oct 11, 2011
Hi evita3E 8867239 Here is a link to all of the videos on the site: http://www.allfreecrochet.com/?task=search&search_term=video You can also find these by searching for "video" in the search bar above. You can also look through our "Tutorials" category found on the left hand side of the site. Good luck! -Editors of AllFreeCrochet
evita3E 8867239
Oct 09, 2011
I am a newbie at crocheting. I have never crochet ever. Having said that - can you please tell me of any video tutorials that you may have (free) or an ebook that can show me step by step. I would have to learn how to place the thread on my fingers in order to begin,what type of needle I must use or buy? I would love to do an Afghan, but I must learn the beginning steps because I know nothing. Can you point me toward the right things to use so that I can learn. Thank you. Evita
marydrake2010 9605 875
Jan 28, 2013
EVITA,YOU ARE IN THE RIGHT PLACE.YOU CAN LEARN EVERYTHING AND ANYTHING YOU WANT RIGHT HERE.I HAVE NOT FOUND A BETTER PLACE YET TO TEACH YOU THE FUNDAMENTALS FOR CROCHETING.THEY HAVE WONDERFUL FREE E BOOKS TO TEACH YOU ANYTHING,FROM BEGINNERS TO EXPERTS IT'S ALL RIGHT HERE.
dnaber
May 28, 2010
Instructions are quite clear & easy to follow. Can anyone help me find out how to do a single crochet post stitch (sc fp) & double crochet front post stitch (dc fp)?
Report Inappropriate Comment
Are you sure you would like to report this comment? It will be flagged for our moderators to take action.
Thank you for taking the time to improve the content on our site.