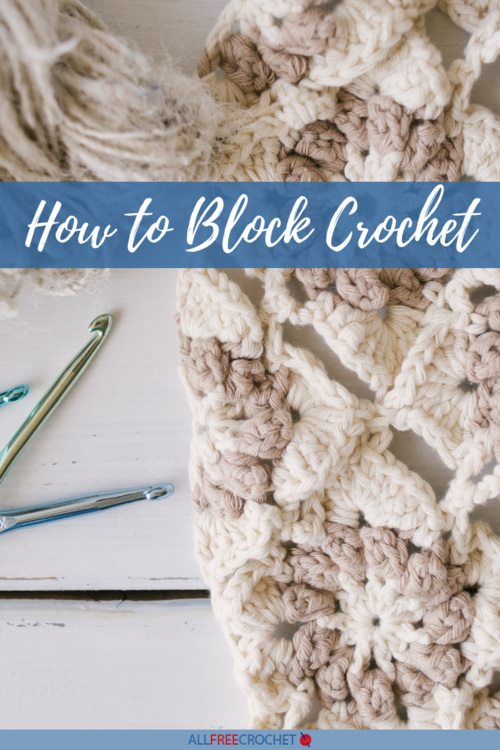
How to Block Crochet
Learn 3 different ways to block crochet projects. We have free downloadable infographics to have on hand, too!
As you're finishing up your crochet pattern, you might be noticing that some of the ends look a little shaky or uneven, despite your careful and strict stitch counting. "What did I do wrong?" you might be asking yourself.
Don't worry about it!
For most crochet projects, once you're all done with the stitching and the counting, you still have to give it a little extra TLC to fully finish it off, and you do that with a process called blocking.
With this page, How to Block Crochet, we will explain everything you need to know about this technique, including more details on what it is and how to do it in three different ways.
Depending on the project, and depending on the crocheter, you might not need (or want) to block any projects, but for certain intricate lacy pieces, for example, you might want to spend the extra time to set your project and stitches in place, just how you want them.
Take a look at the section below to learn more about when and why you might want to do crochet blocking.
Why Block Crochet?
In the intro, we mentioned intricate pieces benefiting from blocking. Similarly, if you're using any special stitches or cables, blocking will help set them off better and show them more beautifully.
Additionally, if you're working on any type of granny square crochet project, or anything where you have to join motifs together, you'll find that it's easier to join and seam all the pieces together if they're blocked.
There's also the point that it's always a possibility that, try as you might, your tension ends up a little varied and loose throughout your project. Blocking will help even things out and minimize the areas where your gauge got a little more relaxed.
There are three popular different processes to use when you block projects: wet, dry and cold. Which method you choose to utilize depends on the type of project you've worked on and the yarn content, as certain yarn fibers can't handle high heat.
Materials Needed for Crochet Blocking
Before you begin blocking your crochet project, be sure to have all the necessary materials and space ready:
If you're working on smaller pieces, like looking to block crochet scarves or granny squares, you'll need a blocking board, rustproof pins, a steamer or steam iron, spray bottle and your yarn labels.
For a larger project, like a crochet afghan, a bed, a large and well-padded table or even a carpeted floor (covered with a sheet) would work.
Planning your materials needed for crochet blocking also depends on which method you are using. Take a look below and determine which method you want to use. Each method explains what you'll need along with the process.
Crochet Blocking Methods
Before blocking, absolutely check your yarn label for washing instructions to help you determine which method of blocking to go with. If it says hand-wash only, make sure you heed that advice and don't go sticking it in the washing machine.
For instance, wool yarn has a tendency to felt, so if you don't want your crochet pattern to gain that texture or feel, make sure to hand wash it. After you've spent so much time and effort over the past few months working on your crochet afghan, make sure you finish it up with the same amount of devotion.
If you're unsure about which method to follow, check the label and do some research online or block a smaller swatch as a test. It's better to try and fail on a swatch than on your hard work.
How to Wet Block
Wet blocking is best for yarn that can handle being submerged in water, and make sure you don't wrist or twist your work. This type of blocking is best for projects that need a lot of help in the reshaping department.
- Wash your project - you can either toss it into the washing machine or simply handwash it in a tub of water, depending on the yarn care advice.
- Find a good spot to lay out your project, like a spare bed in a bedroom or on clean towels on a carpeted floor for larger items, or on your blocking board for smaller ones. Pin your crochet project in place with steel rust-proof pins to avoid any rust stains on your finished work.
- Begin on one side and gently pull to straighten your work, adding in pins as you go to pin your project in place.
- Work all the way around your project in the same way, tugging lightly and adding pins as you go. Make sure to keep your edges straight!
- Once you have everything in place, let it fully dry over a full day or two. Let a fan blow on it to speed up the process if you wish.
Click the image below or the link here to download our Wet Crochet Blocking Infographic.

How to Dry Block
Dry blocking is best for any types of fibers that can handle moisture and steam. Please note that this type of blocking uses an iron, but do NOT actually touch the iron to your project. It won't speed things up and could potentially damage your work.
- Don't wash your crochet project; instead, spread it out over your desired blocking surface.
- Working around your work, pin the project in place.
- Smooth and flatten your crochet project with your fingers as much as possible, again, working your way around.
- With a steamer or steam iron held an inch or more above the project, steam the fabric slowly. Do not press down with the iron.
- Move the steamer or iron around the surface of the crochet project, steaming as you go.
- When you're done, let the crochet project cool and dry completely.
Click the image below or the link here to download our Dry Crochet Blocking Infographic.

How to Cold Block
Cold blocking, or spray blocking, is best for any types of yarn that can handle moisture and water, but not heat. This process is much the same as with dry blocking, but you use a spray bottle of water instead of an iron or steamer.
- Spread your crochet afghan out over your desired surface.
- Work your way around the project and pin it in place as you go, similar to the other methods.
- Like you did with the iron or steamer, mist your way around with a spray bottle of clean water until your work is totally wet.
- Press down on the project or use more water if areas pucker up.
- For areas that need more shaping help, add some rust-proof pins to pin into place.
- When you finish, let the crochet project dry completely before moving or removing any pins.
Click the image below or the link here to download our Cold Crochet Blocking Infographic.

Crochet Blocking Methods Infographic
Download our full infographic featuring all three methods for blocking here or click the image below.

When do you block your crochet?
Your Recently Viewed Projects

Thanks for your comment. Don't forget to share!
EditorLP
Dec 07, 2016
I'm so glad I found this article! I'm working on a super scarf to give as a Christmas gift, and I've noticed the edges looking wavy where the stitch pattern changes. A friend said I should try blocking it, and thanks to this article, I now know what that means! I'm relieved that there is a way to make my projects look more even.
Report Inappropriate Comment
Are you sure you would like to report this comment? It will be flagged for our moderators to take action.
Thank you for taking the time to improve the content on our site.