Helping Hands Garden Bag

Treat yourself to this Helping Hands Garden Bag and let this crocheted bag help you create the garden of your dreams this year. Anyone with a green thumb will appreciate this free crochet pattern because of the large pockets and comfortable handles. You'll be able to effortlessly carry around all of your gardening essentials such as shovels, spades, trowels, hand rakes, and more. This free crochet pattern will definitely come in handy this spring. Gardening has never been so easy!

Crochet HookG/6 or 4 mm hook
Yarn Weight(4) Medium Weight/Worsted Weight and Aran (16-20 stitches to 4 inches)
MATERIALS
- Lily Sugar 'n Cream (70 g/2.5 oz;109 m/120 yds)
Main Color (MC) Sage Green (00084) 9
Contrast A () 6
Contrast B Hot Green (01712) 2 - Size 4 mm (U.S. G or 6) crochet hook or size needed to obtain gauge.
SIZE: Approx 15 ins [38 cm] long x 6 ins [15 cm] wide x 11 ins [28 cm] deep.
GAUGE: 13 sc and 14 rows = 4 ins [10 cm] with 2 strands of yarn.
INSTRUCTIONS
Front and Back Panels (make 2).
With 2 strands of MC tog, ch 51.
1st row: (RS). 1 sc in 2nd ch from hook. 1 sc in each ch to end of ch. Turn. 50 sc.
2nd row: Ch 1. 1 sc in each sc across. Turn.
Rep last row until work from beg measures 9½ ins [23 cm], ending with a
WS row.
Next row: Ch 1. 1 sc in each st to end of row. Turn. Break MC.
Next row: With A, ch 1. 1 sc in each st to end of row. Turn.
Rep last row twice more.
Next row: (Holes for Handles). Ch 1. 1 sc in each of first 16 sc. Ch 3. Miss next 3 sc. 1 sc in each of next 12 sc. Ch 3.
Miss next 3 sc. 1 sc in each sc to end of row. Turn.
Next row: Ch 1. 1 sc in each st to end of row. Turn.
Rep last row twice more. Fasten off.
Side Panels (make 2).
With 2 strands of MC tog, ch 20.
1st row: (RS). 1 sc in 2nd ch from hook. 1 sc in each ch to end of ch. Turn. 19 sc.
2nd row: Ch 1. 1 sc in each sc across. Turn.
Rep last row until work from beg measures same lengths as front and back before color changing, ending with a WS row. Join A.
Next row: With A, ch 1. 1 sc in each st to end of row. Turn.
Rep last row 6 times more. Fasten off.
Join Panels: Arrange Panels to form a bag, having Side Panels opposite each other.
With WS of 2 Panels tog, join 2 strands of MC with sl st at bottom left corner. Ch 1. Working through both thicknesses, work 1 row of sc evenly along side edge, changing to A where necessary. Fasten off. Rep for rem Panels to form box.
BASE
With 2 strands of MC tog, ch 51.
1st row: (RS). 1 sc in 2nd ch from hook. 1 sc in each ch to end of ch. Turn. 50 sc.
2nd row: Ch 1. 1 sc in each sc across. Turn.
Rep last row until work from beg measures 6 ins [23 cm], ending with a WS row.
Join Base to Sides: Place lower edge of Sides behind Base with WS of work tog, aligning corners of Base with fold lines and joining row of Sides. Ch 1. Working through both thicknesses, work 1 rnd of sc around all 4 sides of Base. Join with sl st in first sc. Fasten off.
Handles (make 2).
With 2 strands of A, ch 53 loosely.
1st row: 1 sc in 2nd ch from hook. 1 sc in each sc across. Turn. 52 sc.
2nd row: Ch 1. 1 sc in each sc across. Turn.
Rep last row once more. Fasten off.
With RS of Basket facing, push ends of Handle through holes on Side Panel to WS. Sew ends tog, being careful not to twist Handle.
Optional: Bring halves of Handle tog and taking 2 strands of A tog, wrap center 3 ins [7.5 cm] of Handle as shown in insert picture. Fasten ends securely.
Pockets (make 2 sets).
Note: Pocket is worked from top down.
With 2 strands of B, ch 75.
1st row: (RS). 1 sc in 2nd ch from hook. 1 sc in each ch to end of ch. Turn. 2nd row: Ch 1. 1 sc in each sc to end of row. Turn.
Rep last row 4 times more. Join A.
With A, rep last row until work from beg measures 7 ins [18 cm], ending with a WS row. Fasten off.
Bottoms of pockets: With RS of work facing, miss first 6 sc. ***Join B with sl st to next sc. Ch 1. 1 sc in each of next 13 sc. Turn. Leave rem sts unworked.
Next row: Ch 1. 1 sc in each sc to end of row. Turn.
Rep last row for 1¾ ins [4.5 cm], ending with a WS row. Fasten off.****
With RS of work facing, miss next 12 sc.***
Rep from *** to *** once more, then from *** to **** once.
Sew sides of Bottoms to missed sts to form 3-D pocket.
Sew 1 set of Pockets to Front and Back.
Mark dividing lines for 3 pockets. With A, sew through both thicknesses from bottom to top of pockets along dividing lines.
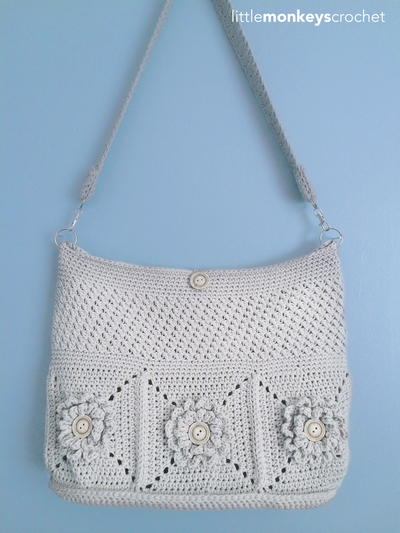
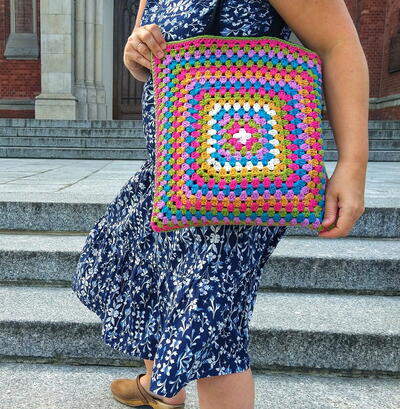
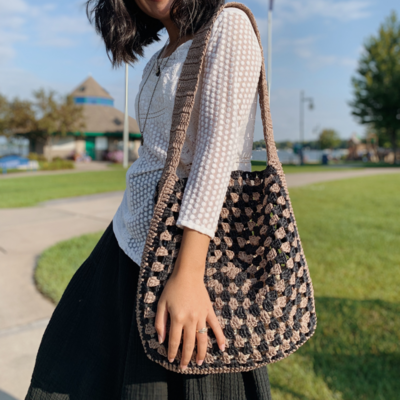
Read NextGranny Square Tote With Lining
Your Recently Viewed Projects

Thanks for your comment. Don't forget to share!
Morehouse17
Apr 30, 2018
I agree with Delphine Bryant in that this would be a great craft bag but I can see it as a baby bag also if you change the color of the yarn you use to create it. With almost any bag design, it can be converted for use in whatever capacity you need.
Delphine Bryant
Apr 29, 2018
This was designed for the garden, but do not short change yourself. This for me would be the perfect crochet bag. I finally broke down and purchased a craft bag from Hobby Lobby when it was on sale but this bag is twice as nice as the one I purchased. If you are like me, with multiple projects going at the same time, having more than one bag is not such a bad thing.
JaneEK
Feb 24, 2018
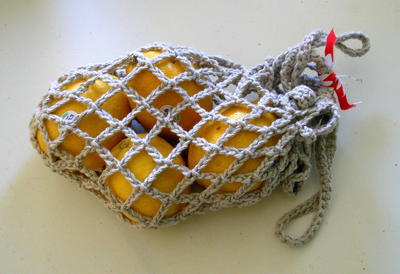
I love the design of this bagI have a couple of them in canvas fabricbut Im not sure I want to work this up in yarn. My hand shears alone are pretty heavy and Ive had to modify my canvas bag with a plastic liner bottom to keep it from sagging. I noticed the yarn bag in the photo has the same problem.
mulberrygalprinces s
Feb 19, 2018
This is so neat. And the directions are very nicely written. You can understand and follow easily. It doesn't have to be a garden bag either. I was looking at it and it came to be. A beach tote. The side pockets can hold flip flops, sun tan oil, a book, a bottle of water too,
Zeemer
Oct 30, 2017
Friends and family members who love gardening will surely love this Helping Hands Garden Bag which is very functional in the work that they do. It can organize the tools in one bag and at the same carry them as they are needed while working in the garden. You don't have to carry a very heavy tool box, this bag is perfect for your gardening needs. You can also make this as gift for a friend or family member who is a green thumb. Cheers!!
RIO
Aug 29, 2017
Where is the picture for this project? I also went onto the web site, yarnspirations and there was no picture either.... Would love to SEE what the project will look like before attempting to make this.
AFC Editor Julia
Aug 30, 2017
Hi Rio, The photo should be appearing now. Thanks! Julia, editor for AllFreeCrochet
Cheryl Y
Aug 08, 2017
Oh my, I love this Helping Hands Garden Bag! The written pattern right here on this page is so well written and easy to understand I'm making a few of these.. One for the garden to put veggies and my tools in and on to give as a gift to use as a diaper bag. I think you can use velcro closures to the inside of the main part of the bag and it will be a sweet diaper bag. Using the Lily Sugar 'n Cream cotton yarn is also a good choice because it will wash up nicely. Thank you so much for sharing this free crochet pattern.
Hippie Chick
Apr 10, 2017
Great idea! Wish I had thought about something like this, and it is the perfect time of the year to make one or two of these as everyone is beginning to thaw from winter and starting their spring planting. A liner for this would almost be a must in order to keep the points of tools from poking through the yarn. Garden tools are heavy also so how much weight can the handles hold without becoming stretched out of shape?
lcarr
Aug 29, 2017
I would add a round of slip stitches around each handle. That should help keep it from stretching too badly. Doubling the handles and adding a fabric liner between layers would work well too. I would also reinforce the holes the handles pass through to keep them from stretching out of shape.
lcarr
Mar 05, 2017
This is a great bag, and quite roomy. I like it for my projects. The pockets hold quite a lot too. I dont think I would use regular yarn if I was to use this in the garden though. I dont think it would be very durable, especially with garden tools, etc. Maybe a twine or heavy string or cord would be better for that purpose.
Member 1311748
Feb 15, 2014
my mum just purchased a stunning black Mercedes G-Class G63 AMG only from working part-time online. Visit This Link >>>>>>>>>>> www.bay91.com
Report Inappropriate Comment
Are you sure you would like to report this comment? It will be flagged for our moderators to take action.
Thank you for taking the time to improve the content on our site.