This project was submitted by one of our readers, just like you.
Easy Crochet Coasters For Beginners

Easy Crochet Coasters for Beginners
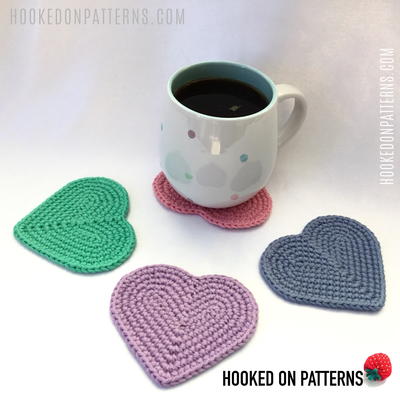
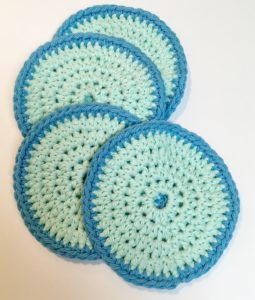
"Easy crochet coasters are a great beginner project for someone new to crochet. Whether you are a new crocheter or not though, these also make great gifts. Handmade gifts are so treasured because the recipient knows how much effort and love you put into making their gift. When it is warm, a pretty coaster comes in handy to save your furniture from table rings. These pretty colored coasters are made from two skeins of cotton yarn. While you can use an acrylic yarn, I think that the cotton yarn would work much better at absorbing the moisture from your drink."
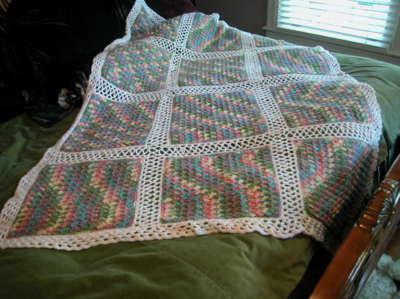
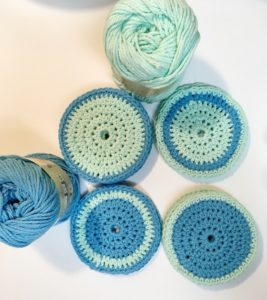
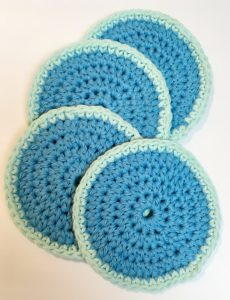
NotesThe crochet coasters that I made, the colors were changed for either row 4 or row 5. Here are some photos to help you see the difference.

Crochet HookH/8 or 5 mm hook
Yarn Weight(4) Medium Weight/Worsted Weight and Aran (16-20 stitches to 4 inches)
Crochet GaugeGauge is not critical to this pattern. You would get approximately 20 stitches per 4 inches.
Finished SizeFinished Size: Approximately 4 inches diameter
Materials List
- 1 Skein of Peaches & Creme Bright Blue
- 1 Skein of Peaches & Creme Mint
- Size G Hook 4.25mm
- Yarn Needle
- Scissors
Instructions
-
Begin with a magic ring
-
Round 1: CH 1, Work 12 HDC in the circle. Join with SL ST to the top of the first HDC.
-
Round 2: CH 1, Work 1 HDC in same ST as CH 1. Work 2 HDC in each ST around. Join to the first HDC with SL ST.
-
Round 3: CH 1, Work 1 HDC in first ST. *Work 1 HDC in next ST. Work 2 HDC in next ST.* Repeat from * to * around ending with a HDC in the first ST. SL ST into the first HDC.
-
Round 4: CH 1, Work 1 HDC in first ST. *Work 1 HDC in next 2 ST. Work 2 HDC in next ST.* Repeat from * to * around ending with a HDC in the first ST. SL ST into the first HDC.
-
Round 5: Work a SC all the way around in each ST ending with a SL ST into the first SC.
-
Finishing: make sure when cutting off yarn that you leave a long enough tail so you can use the yarn needle and weave in the ends. Make sure to weave in the yarn with the same color. When done, cut off the excess.

Read Next17 Free Crochet Mug Rug Patterns