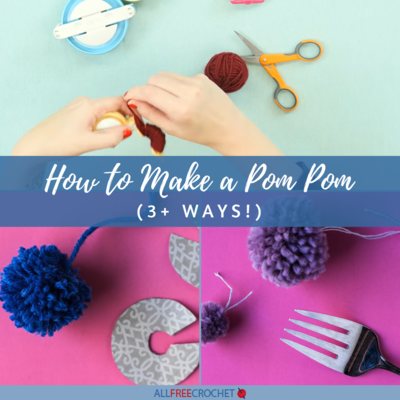
How to Make a Pom Pom (4 Ways!)
This pom pom tutorial will show you a few different ways to make pom poms from yarn.

You can buy pom pom making kits in most craft stores or online, but you can learn how to make a pom pom at home yourself in no time!
There are three methods you can use to make a pom pom; the cardboard disc method, the fork method, or the by-hand method. We also have a bonus tutorial at the end for using a pom pom maker.
Yarn pom poms are added to knit and crochet patterns more often than we realize, and are a great way to add a little fun and creative design to the piece. Whether you're making a crochet project for a child or adult, you can make a pom pom to add as a fun embellishment.
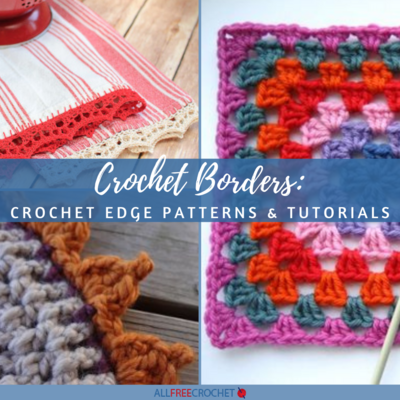
Add them to the tops of crochet hats, as a fun border for scarves and afghans, and even on other crochet accessories like bags and totes! You can even use pom poms as a gift embellishment.
All of the pom pom methods are described below, so pick the one that sounds easiest and you're on your way to making all the pom poms you want!
How many times do you wrap yarn to make a pom pom?
There's no absolute answer for the number of times you wrap your yarn around, regardless of which method you're using. Just remember that the more yarn you use, the fuller your pom pom will be, so don't be afraid to keep wrapping and testing sizes.
Materials Needed:
- Yarn (the bulkier the yarn, the fewer times you'll have to wrap it around your hand/fork/cardboard)
- Cardboard (if using the cardboard circle method)
- Scissors
Skill Level: Beginner
Time to Complete: Under an Hour
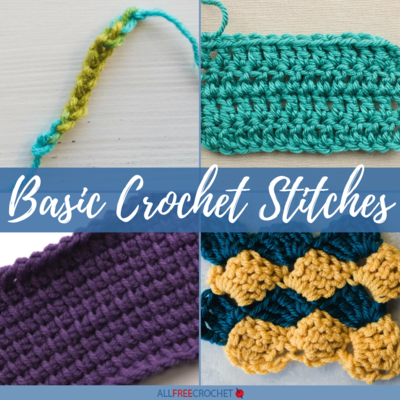
How to Make a Pom Pom With Cardboard
Pom poms make the perfect addition to hats other wearables, and lots of other crochet pieces. With this method, you will learn how to make pom poms using cardboard. You will need two pieces of cardboard and some scissors, along with your yarn.
Let's start with the video tutorial, then scroll for the written tutorial:
- On each of your two cardboard pieces, cut a round circle the exact same size. Be sure to cut a small hole in the middle of each circle.
Size matters for this - the length from the hole to the edge of your circle is how long your yarn strands will be for your pom pom. You can always trim it down later, so always aim a little bigger at first. Lay the circles together, one on top of the other without any overlap.
- Take your yarn and wrap it around the circles and through the hole each time. Be sure that the first round is relatively tight so you'll have a good base to work with.
Wind the yarn evenly and try avoiding any gaps as you work your way around the circle.
- Once the "disc" or cardboard is covered completely you will then put your scissors in between the two circles of cardboard and cut open the wound yarn around the outside edge. This will result in broken pieces of yarn.
- Take a long piece of yarn between the two circles and tie a tight knot in the center of the hole or ball, tying all the yarn strands together. Leave long ends of the yarn so it can then be turned into a loop for attaching.
Once everything is secure you'll want to cut and remove the cardboard and snip any uneven pieces of yarn until it's nice and fluffy and looking like the pom pom you were picturing.
How to Make Pom Poms Using Forks or Your Hands
Our second and third methods are so similar that we're putting them together. Here, you will learn how to make pom poms with yarn and a fork. However, if you don't have or don't want to use a fork, your hands are a great alternative!
This is my personal favorite method for pom poms since you just need something to wrap the yarn around, like a fork or your fingers. For this, too, the size of the instrument you're using to wrap your yarn around will be the size of your pom pom.
Many people suggest forks for this, but I like using three fingers because I like my pom poms big and chunky. Feel free to experiment!
Again, let's begin with our video tutorial showing you both the finger and fork methods. Then scroll for the written tutorial:
- Take your yarn and simply wrap it around your fork or your fingers. How much is up to you, as stated above.
.")
.")
- Once you feel like you've wrapped enough, cut an additional piece of yarn and tie a knot in the middle of the wrapped yarn, leaving you with two groups of yarn loops: above where you tied the yarn and below.
.")
- Now that the yarn ball is tied you can take if off the fork or your fingers and cut through all the yarn loops. You might not be able to do this in one snip, depending on how many times you wrapped your yarn, so just keep snipping away at the loops. Your yarn ball should start looking more and more like a pom pom with each snip!
In the below picture, the bottom loops have all been cut through, but the top loops haven't.
.")
- Once you've cut all the loops, feel free to fluff out your pom pom and trim any ends as needed. Ta-da! You have a pom pom.
- As you make more of these you'll start to get a feel for how many times you should wrap your yarn to get a full and poofy pom pom. Just keep wrapping!
BONUS! How to Use a Pom Pom Maker
If you have a store-bought pom pom maker and are confused on how to use it, check out this video tutorial for how to make a fuzzy DIY pom pom from our friends at AllFreeKnitting and Heidi Gustad. Check it out below:
Up Next
66 Crochet Pom Pom Hats >>
Which method do you like best when making your own pom pom?